Steve Graepel worked in partnership with Visit Idaho to create this Travel Tip.
Idaho has nine peaks topping out over 12,000 feet. Hundreds more teeter between 9,000 and 11,000 feet. Many of these lesser mountains are arguably better climbs, what climbers would call “more aesthetic”. Yet Mount Borah (or simply Borah), by virtue of being Idaho’s highest point, has an undeniable cachet, drawing to it some 3,000 to 5,000 climbers a year hoping to log their name in the summit box.
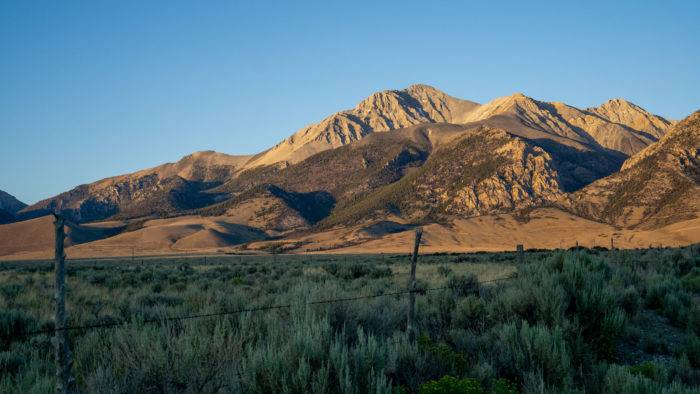
Tom Lopez, aficionado of all things vertical and author of Idaho: A Climbing Guide, lists Borah on his top 10 climbs in Idaho. If you’ve been up there, you know why. If it’s on your tick-list, you should do it.
Tackling any peak can both stir the soul and strain the faculties. A little stress is a healthy thing in the mountains. If Borah has piqued your interest but you’re not sure if it’s for you, a buddy and I just got off the “big hill” and have a play-by-play of what to expect for a long day on the mountain. Mr. Lopez graciously shared his insight.
Prepping for the Climb
Borah is one of a handful of peaks in the lower 48 states that climbs over 5,000 feet from trailhead to summit. And it does so inside of 5 miles. Dust off your geometry and the calculus is one steep hump of rock.
If you regularly hike, run or cycle, you should be ready for some off-the-couch fun. If activity pains you like a root canal, you’ll want to lean into the weeks before the climb and put some steps under your belt. Sure, you can punch in a regimen on the Stairmaster, but you’ll have a much better experience hoisting a pack and logging some flight time up and down a local hill.
“Climbing is 10% physical and 90% mental,” shared Lopez.“You need to be prepared to move for up to 12 hours. If you can run 20 miles a week, or climb 1,000 feet in an hour, you should be well prepared,” added Lopez. Training toughens up the legs, lungs, and shoulders, and maybe most importantly, builds vertical constitution.
Getting There
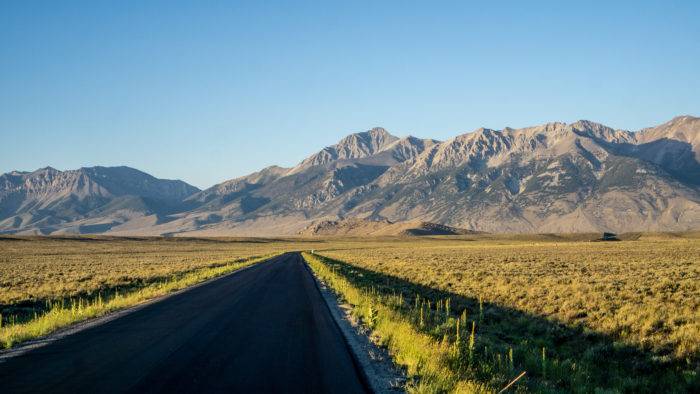
The Lost River Range hosts seven of Idaho’s nine 12,000 foot peaks. Borah sits at the north end, between Challis and Arco. The most direct route from Boise is to take Interstate 84 east, towards Arco. From Interstate 84, take either the Mountain Home exit (on Highway 20) or the Gooding exit (Highway 26) and continue east towards Arco. Once in Arco, drive north on Highway 93 for 50 miles. The Borah trailhead is signed on the east side of Highway 93 (listed on the maps as forest road 279).
We chose a more scenic route and drove four hours through Sun Valley, then up and over Trail Creek Road. The road is gravel and exposed, but it’s well maintained in summer and yawns out the backside. The final miles frame Borah squarely in the windshield and revs the heart for the following day.
Where to Camp
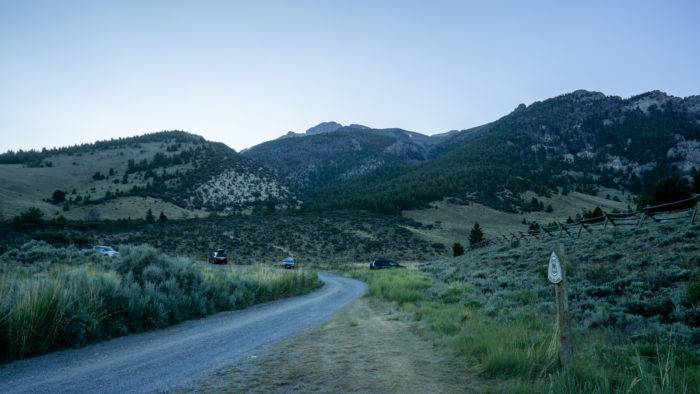
The Borah Peak Trailhead has 5 or so primitive walk-up campsites. No water, no electricity; you’ll need to bring a water jug. A cooler and a camp chair is not a bad idea either. Your tired body will thank you when you drop back down from the summit. The camp is first-come, first-serve, and will set you back $5, which buys you a vault toilet, a picnic table, and a plot to pitch the tent.
The evening before, sort your gear, fill the bottles, and lay out clothes for the summit bid. We’ve added a table with recommended gear at the end of this article. Eat well, hydrate, and get to bed early. It’s gonna be an early start.
Alpine Start
Mountains create their own weather systems and it’s not uncommon to see a squall blow through after a hot summer day. Lopez explained that “speed is safety in the mountains. Check the weather report and get out early so you’re off the summit by 1 PM.” Up before dawn gives you more time to scurry down in front of any potential weather. “If the weather looks threatening, stay down in camp and wait for another day,” he continued.
Our neighbors were shuffling through their car at 4:30 AM. We, on the other hand, procrastinated over coffee and muesli, and casually strolled out of camp at 7:00 AM. Even if you are launching out after daybreak, you’ll want to bring a headlamp and extra batteries for “just in case.”
Approach Trail
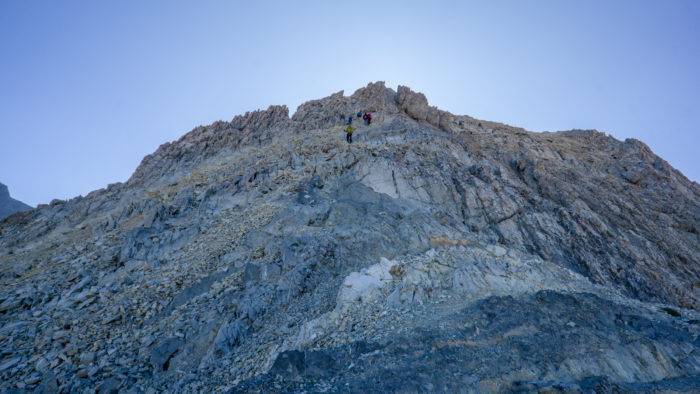
It’s been a dozen or so years since I last climbed Borah. But I distinctly remember two things: the trail to the plateau was absurdly steep (Borah climbs over 5,400 feet in 4.5 miles!) and Chicken Out Ridge was a hand-over-fist festival with a healthy dose of exposure. To help set expectations, I primed my partner with stories of both.
A wood pole chicane flips you from the lot and up the trail. Fortunately, the access trail has seen some upgrades in the last 10 years, tempering the aggressive pitch I remembered. The dusty trail scampers up the chaparral and under a stand of skeletal fir, then switchbacks over an arched back of earth that eventually rolls out onto a high alpine plateau at 10,600’. Enjoy a stroll along the plateau, it’s the last bit of easy ground you’ll see until the summit.
Chicken Out Ridge
The trail follows a well-trodden path up another 1,000 feet along the plateau until it trickles up to a rocky buttress. On a busy weekend, you’ll join a crash of climbers all anxious about the next chapter on the journey. Welcome to Chicken Out Ridge. This is a great place to hydrate, eat some food and assess if this is your summit day (hence the name).
Everyone comes to Borah with a common goal in mind and the energy is palpable. Some will be excited, many will be anxious, others will decide to turn around and return another day. Climbers may ask you if you are on the right track and you will shrug your shoulders with a sincere hopefulness. If any of these emotions describe you, don’t worry. Mountaineering is a lifelong residency and climbers are an affable crowd, quick to mentor one another along the way. There’s a healthy respect for individual choice, even if that’s to turn around.
You might see a faint trail tucking to the left below Chicken Out Ridge. Avoid it. “Wes Collins of Butte County Sheriff’s Department has reported three Search and Rescue events on Mount Borah involving climbers who got lost or stranded after attempting a bypass of Chicken Out Ridge. Custer County has even more reported rescues,” added Lopez. “Chicken Out Ridge’s difficulty is probably overblown, but stay to the documented ridge.” It’s the safest way to the top.
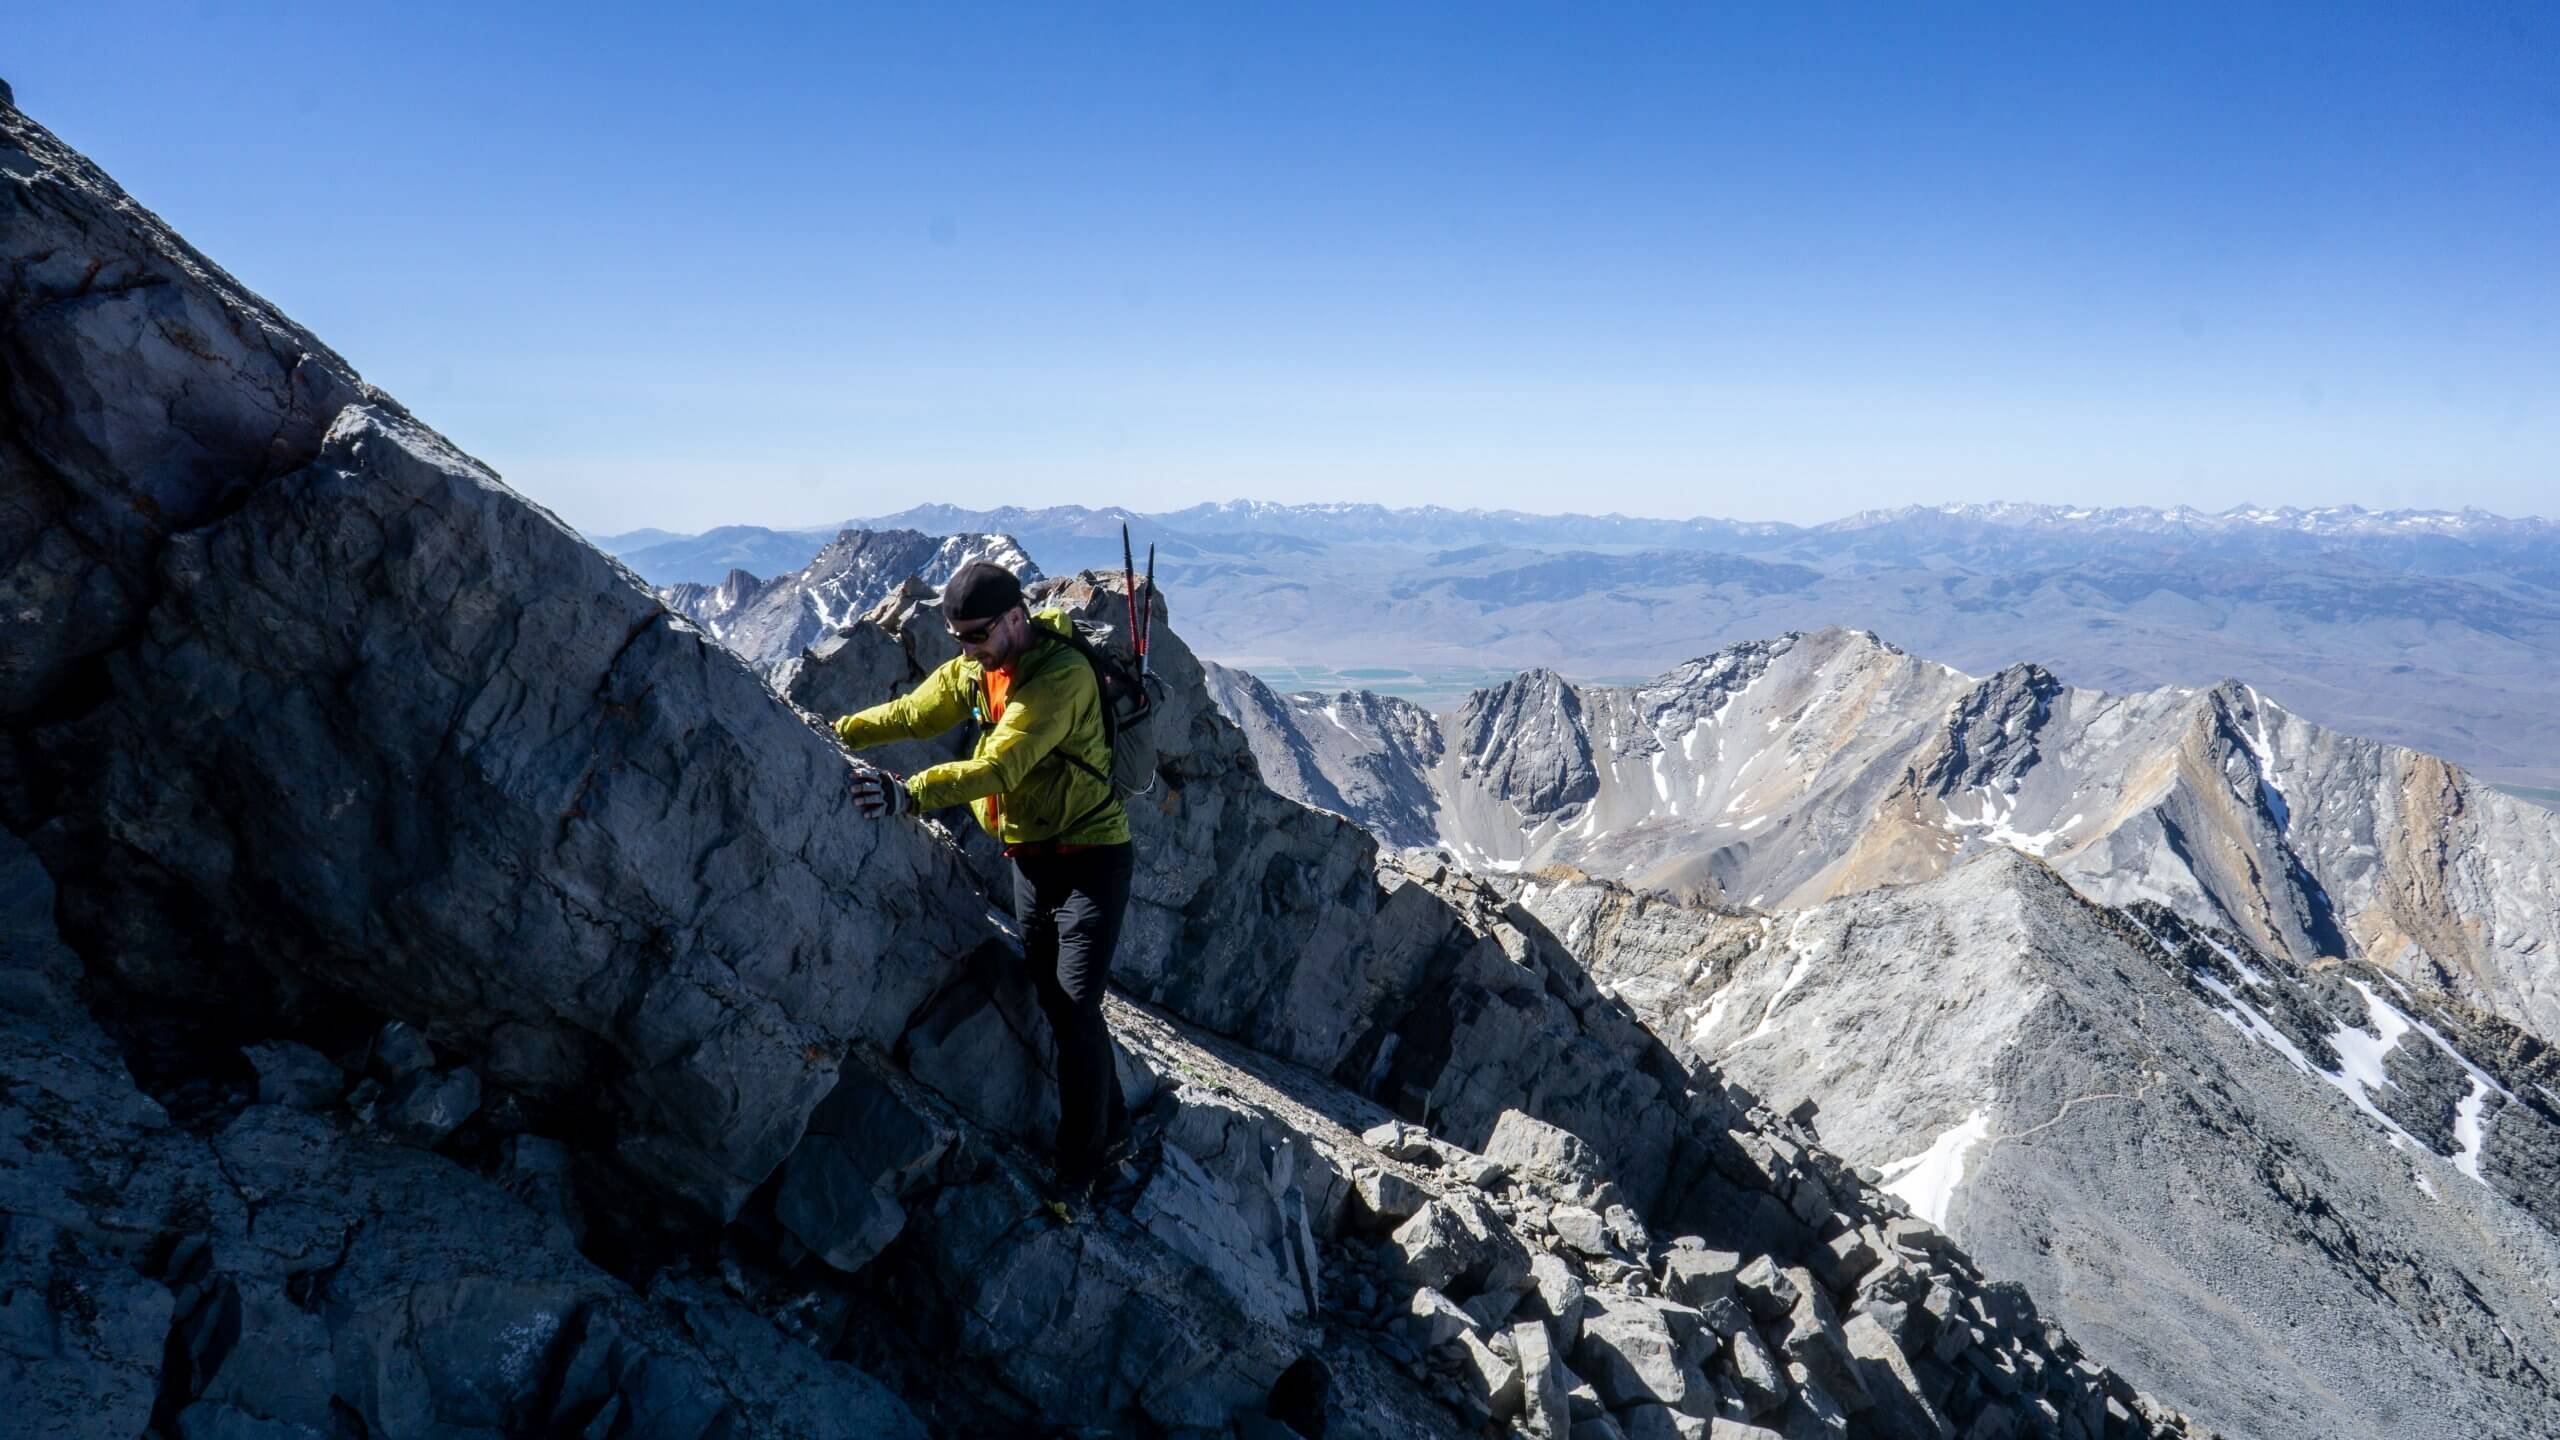
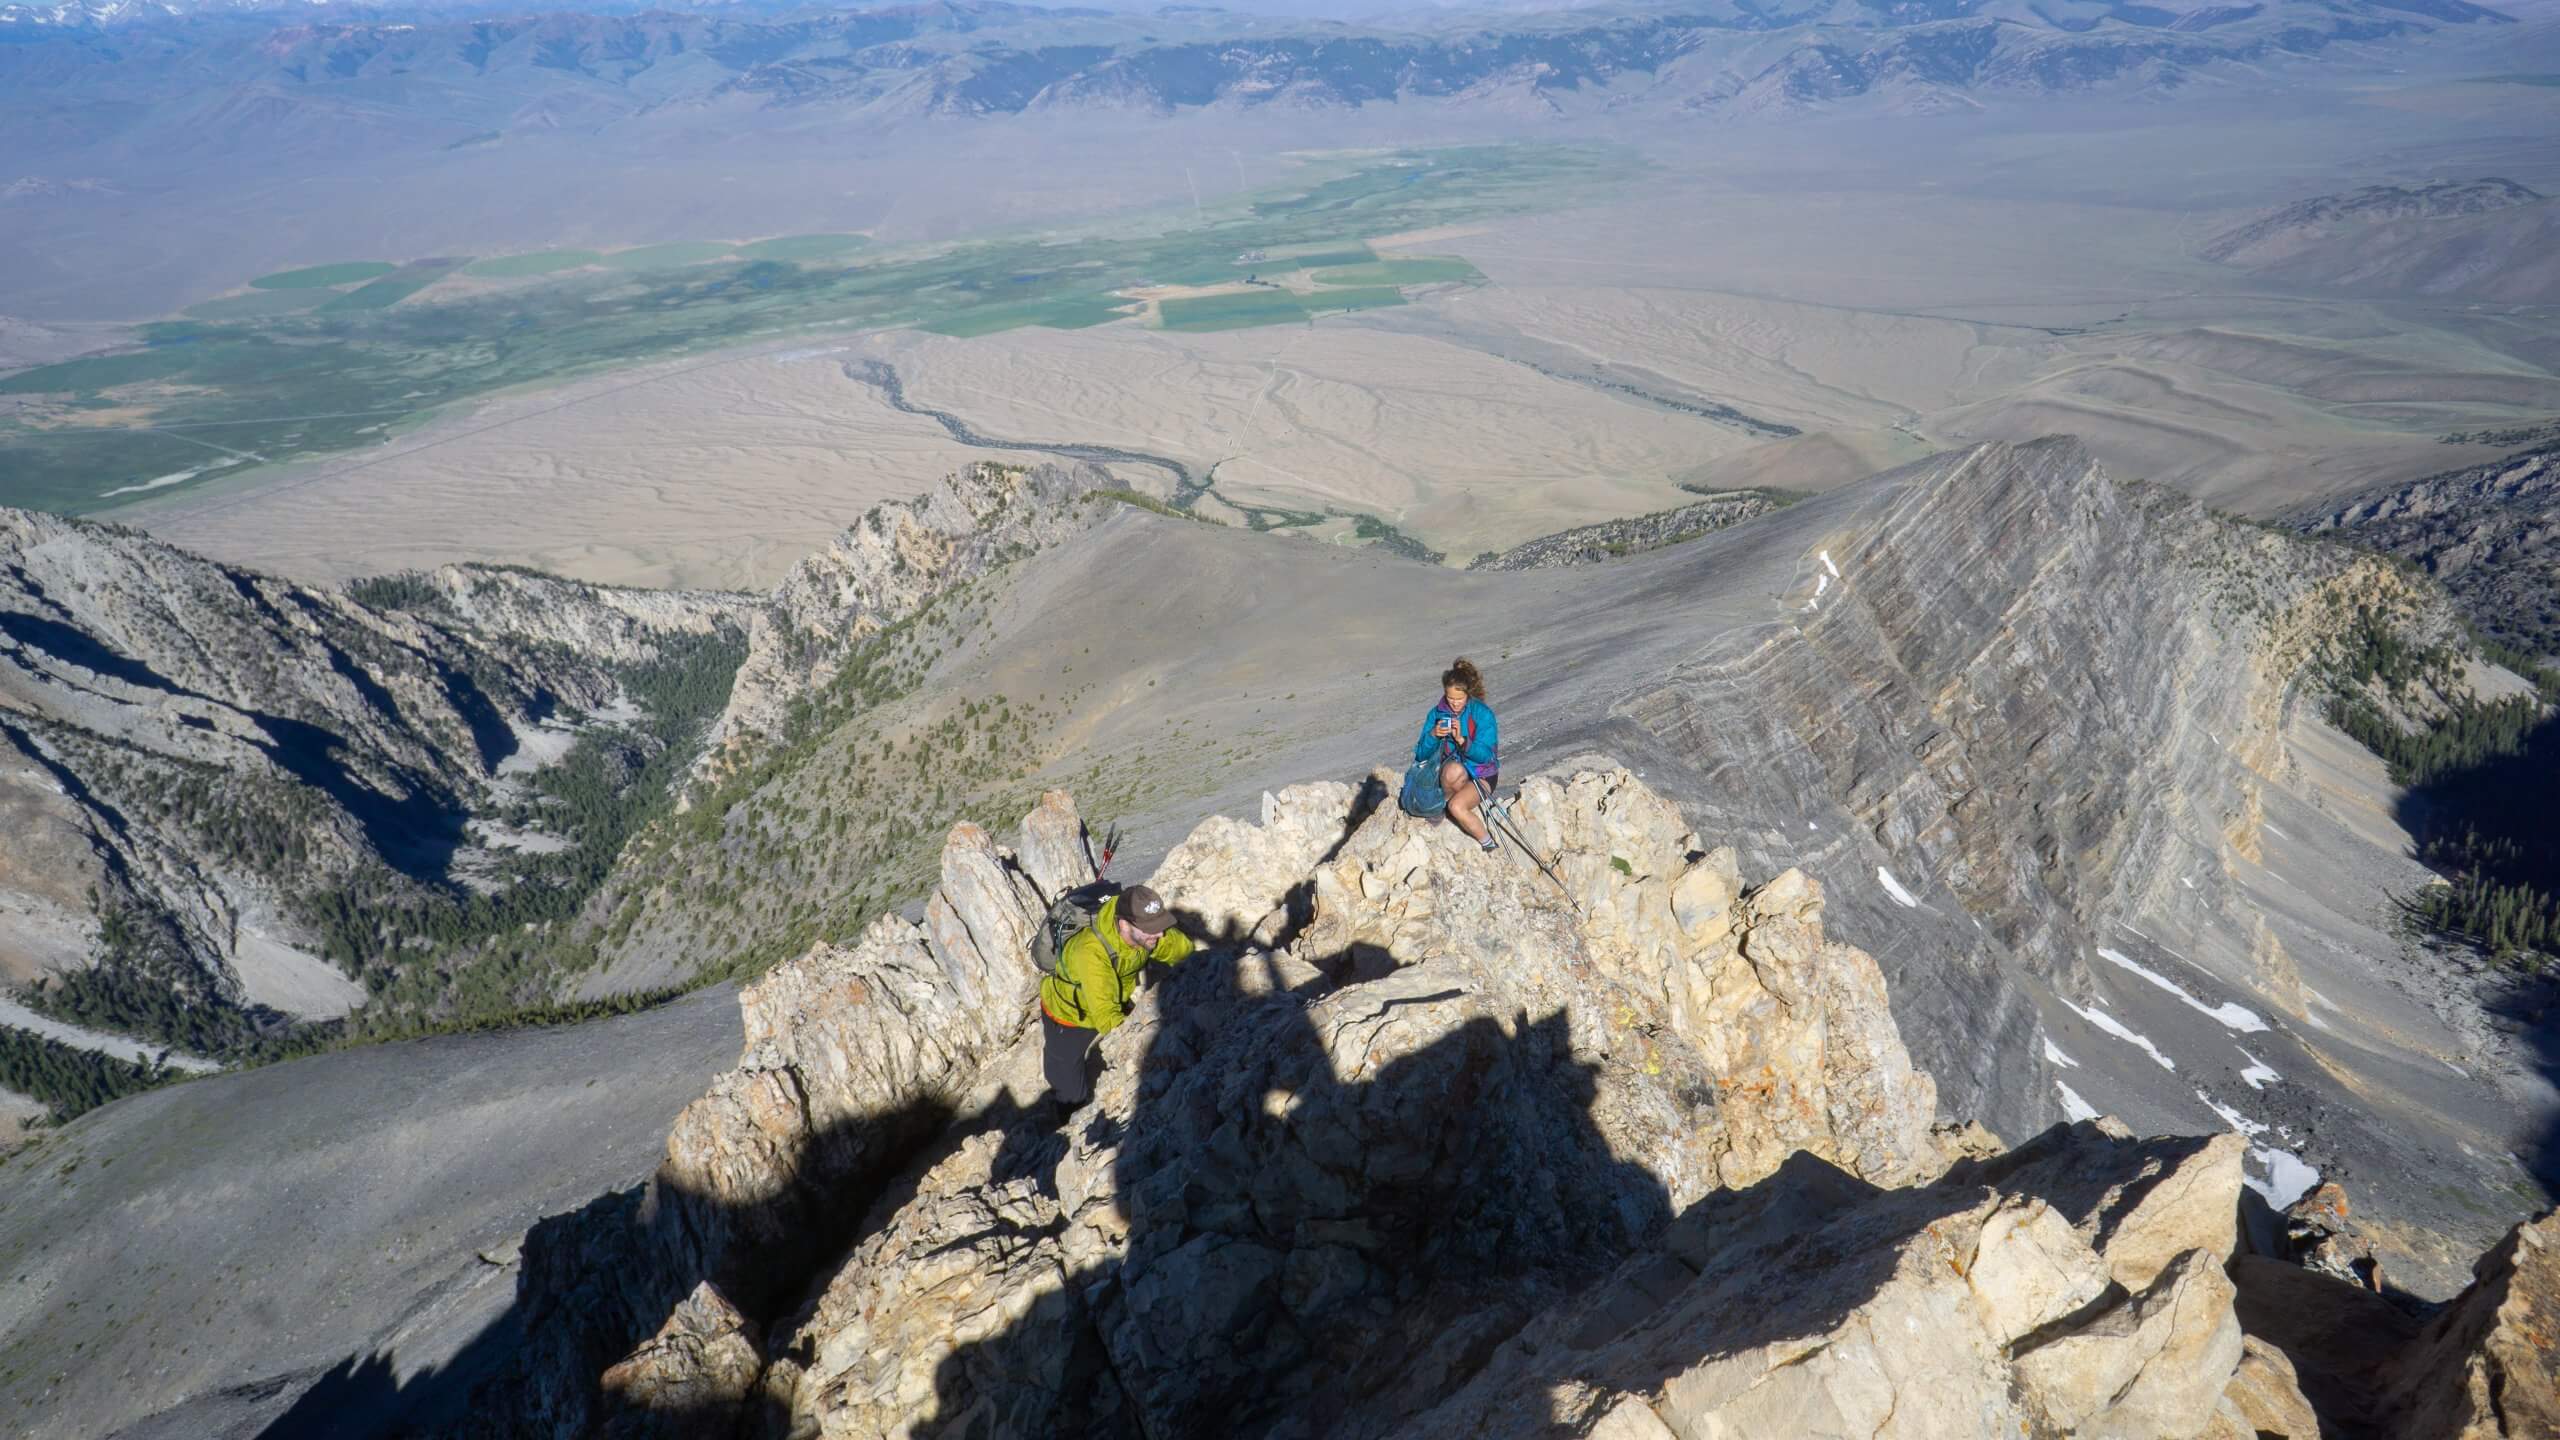
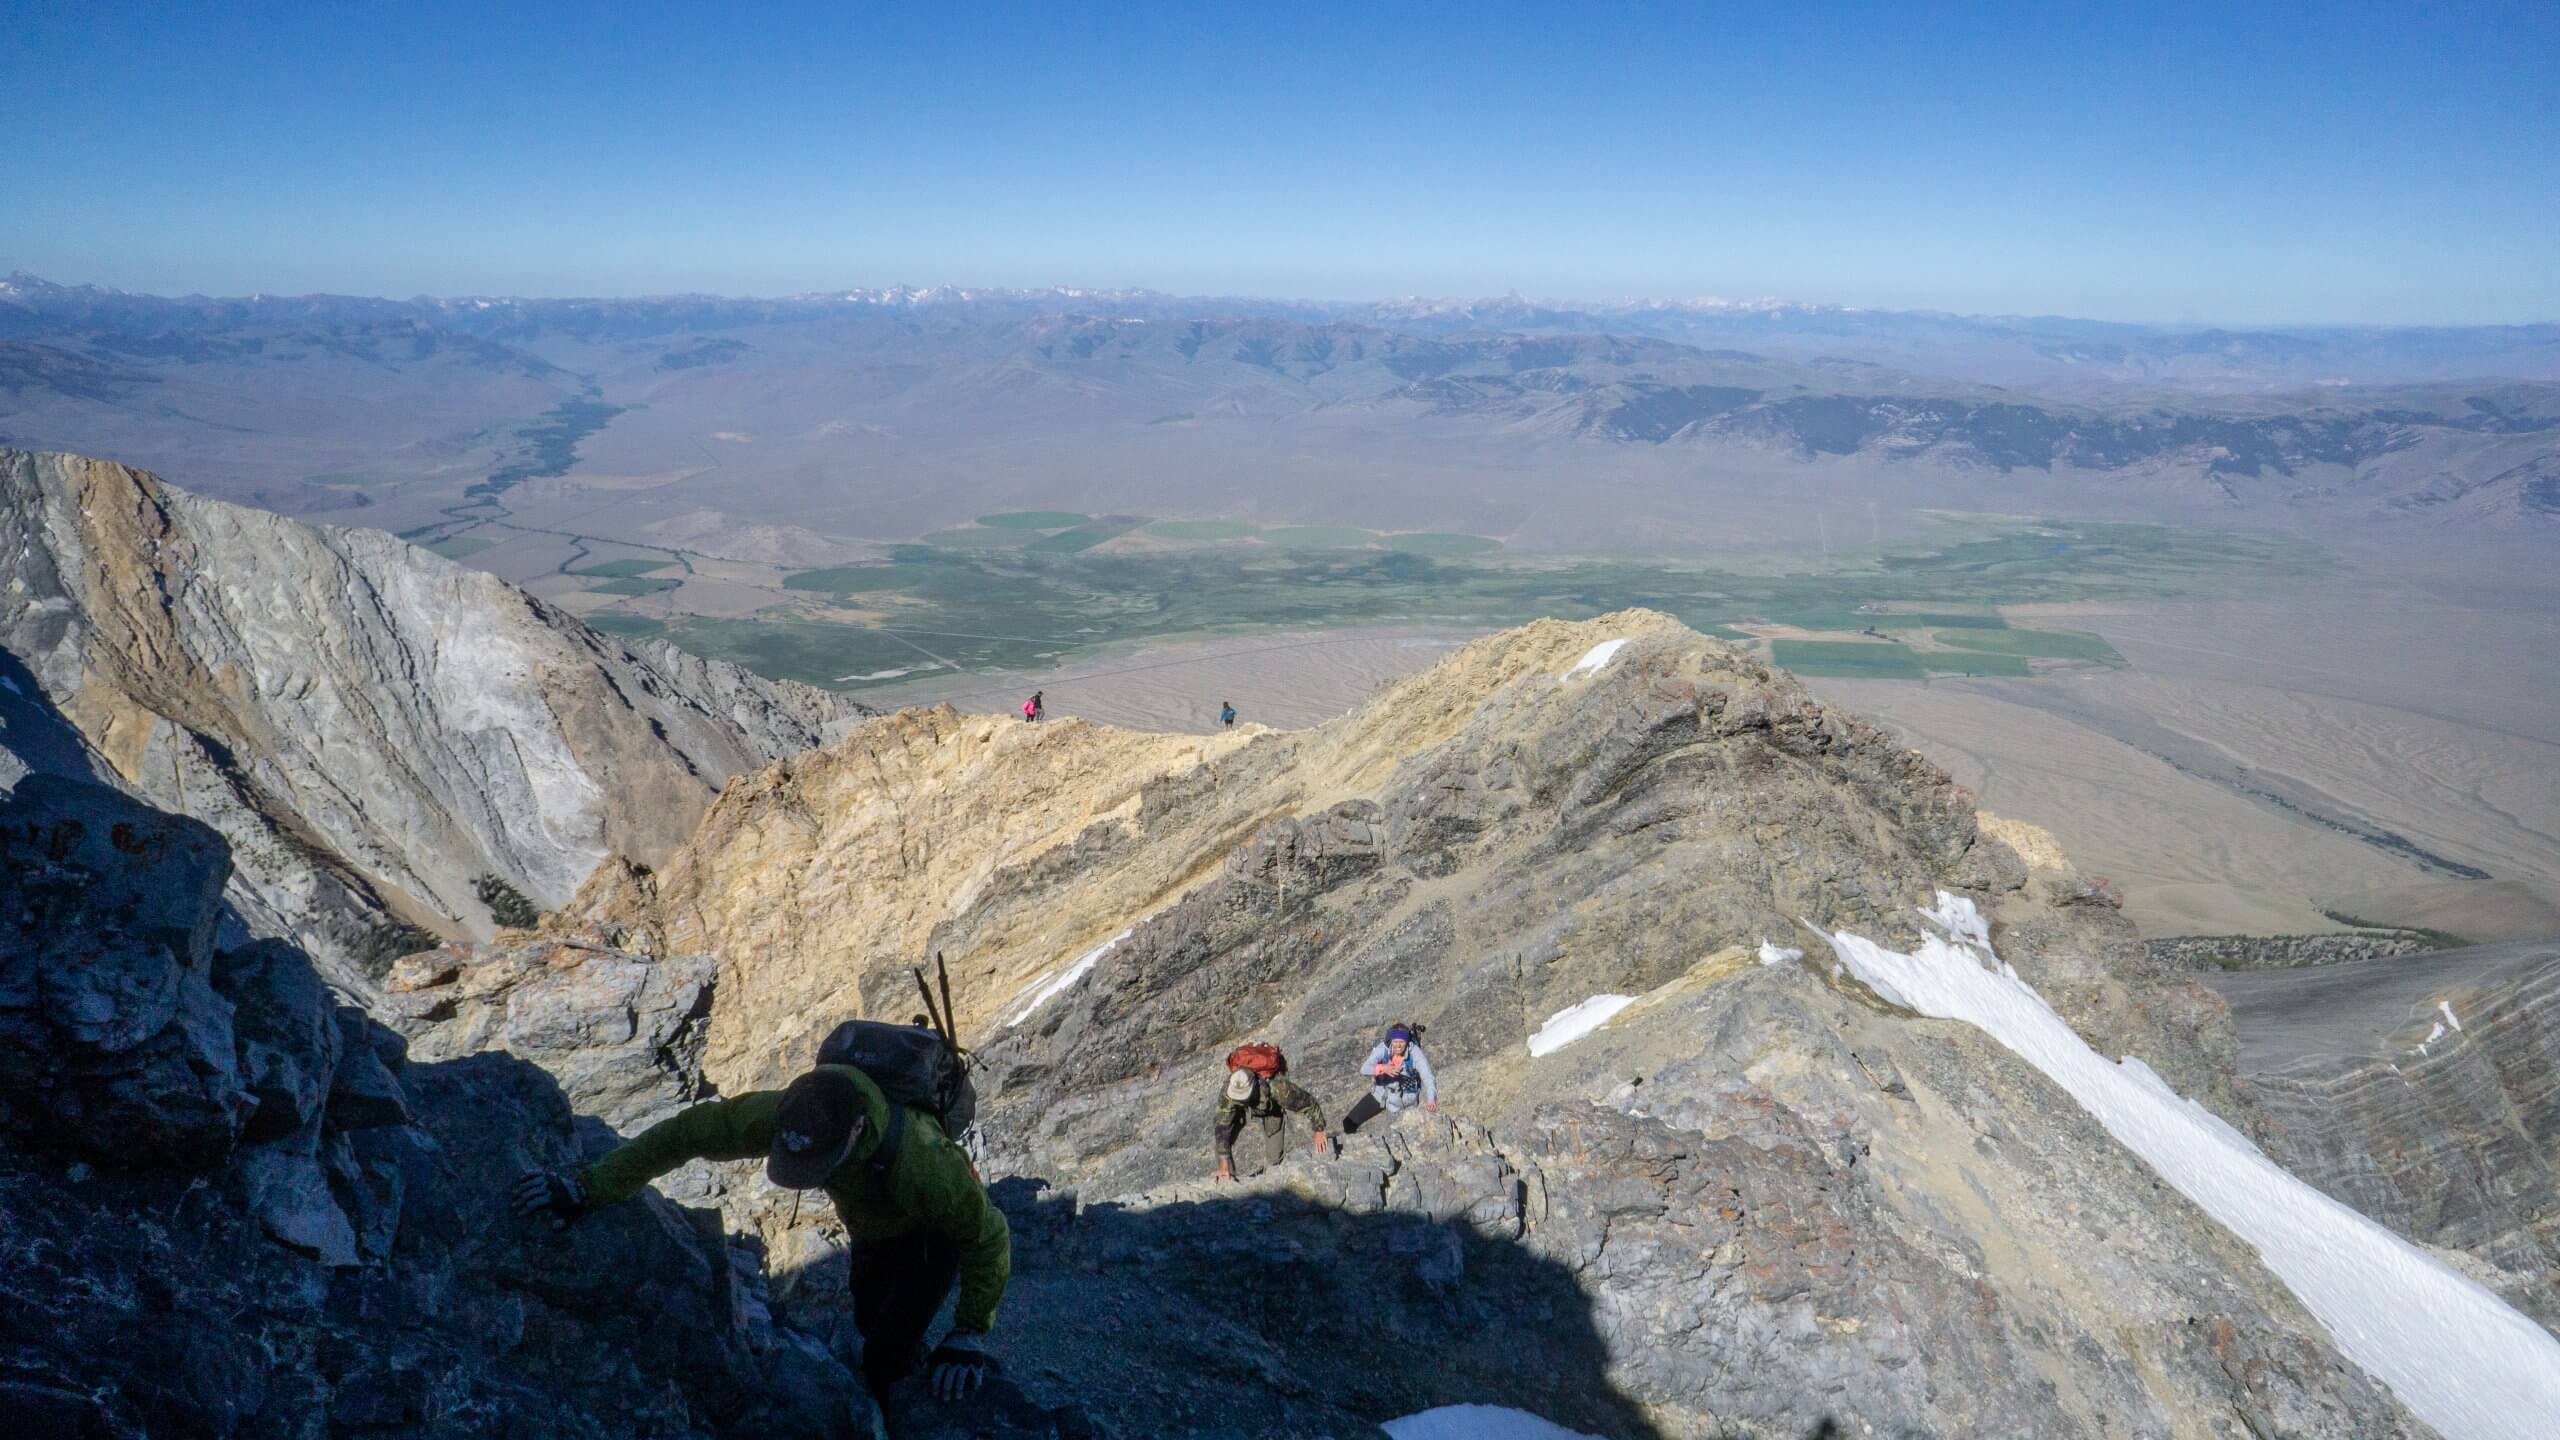
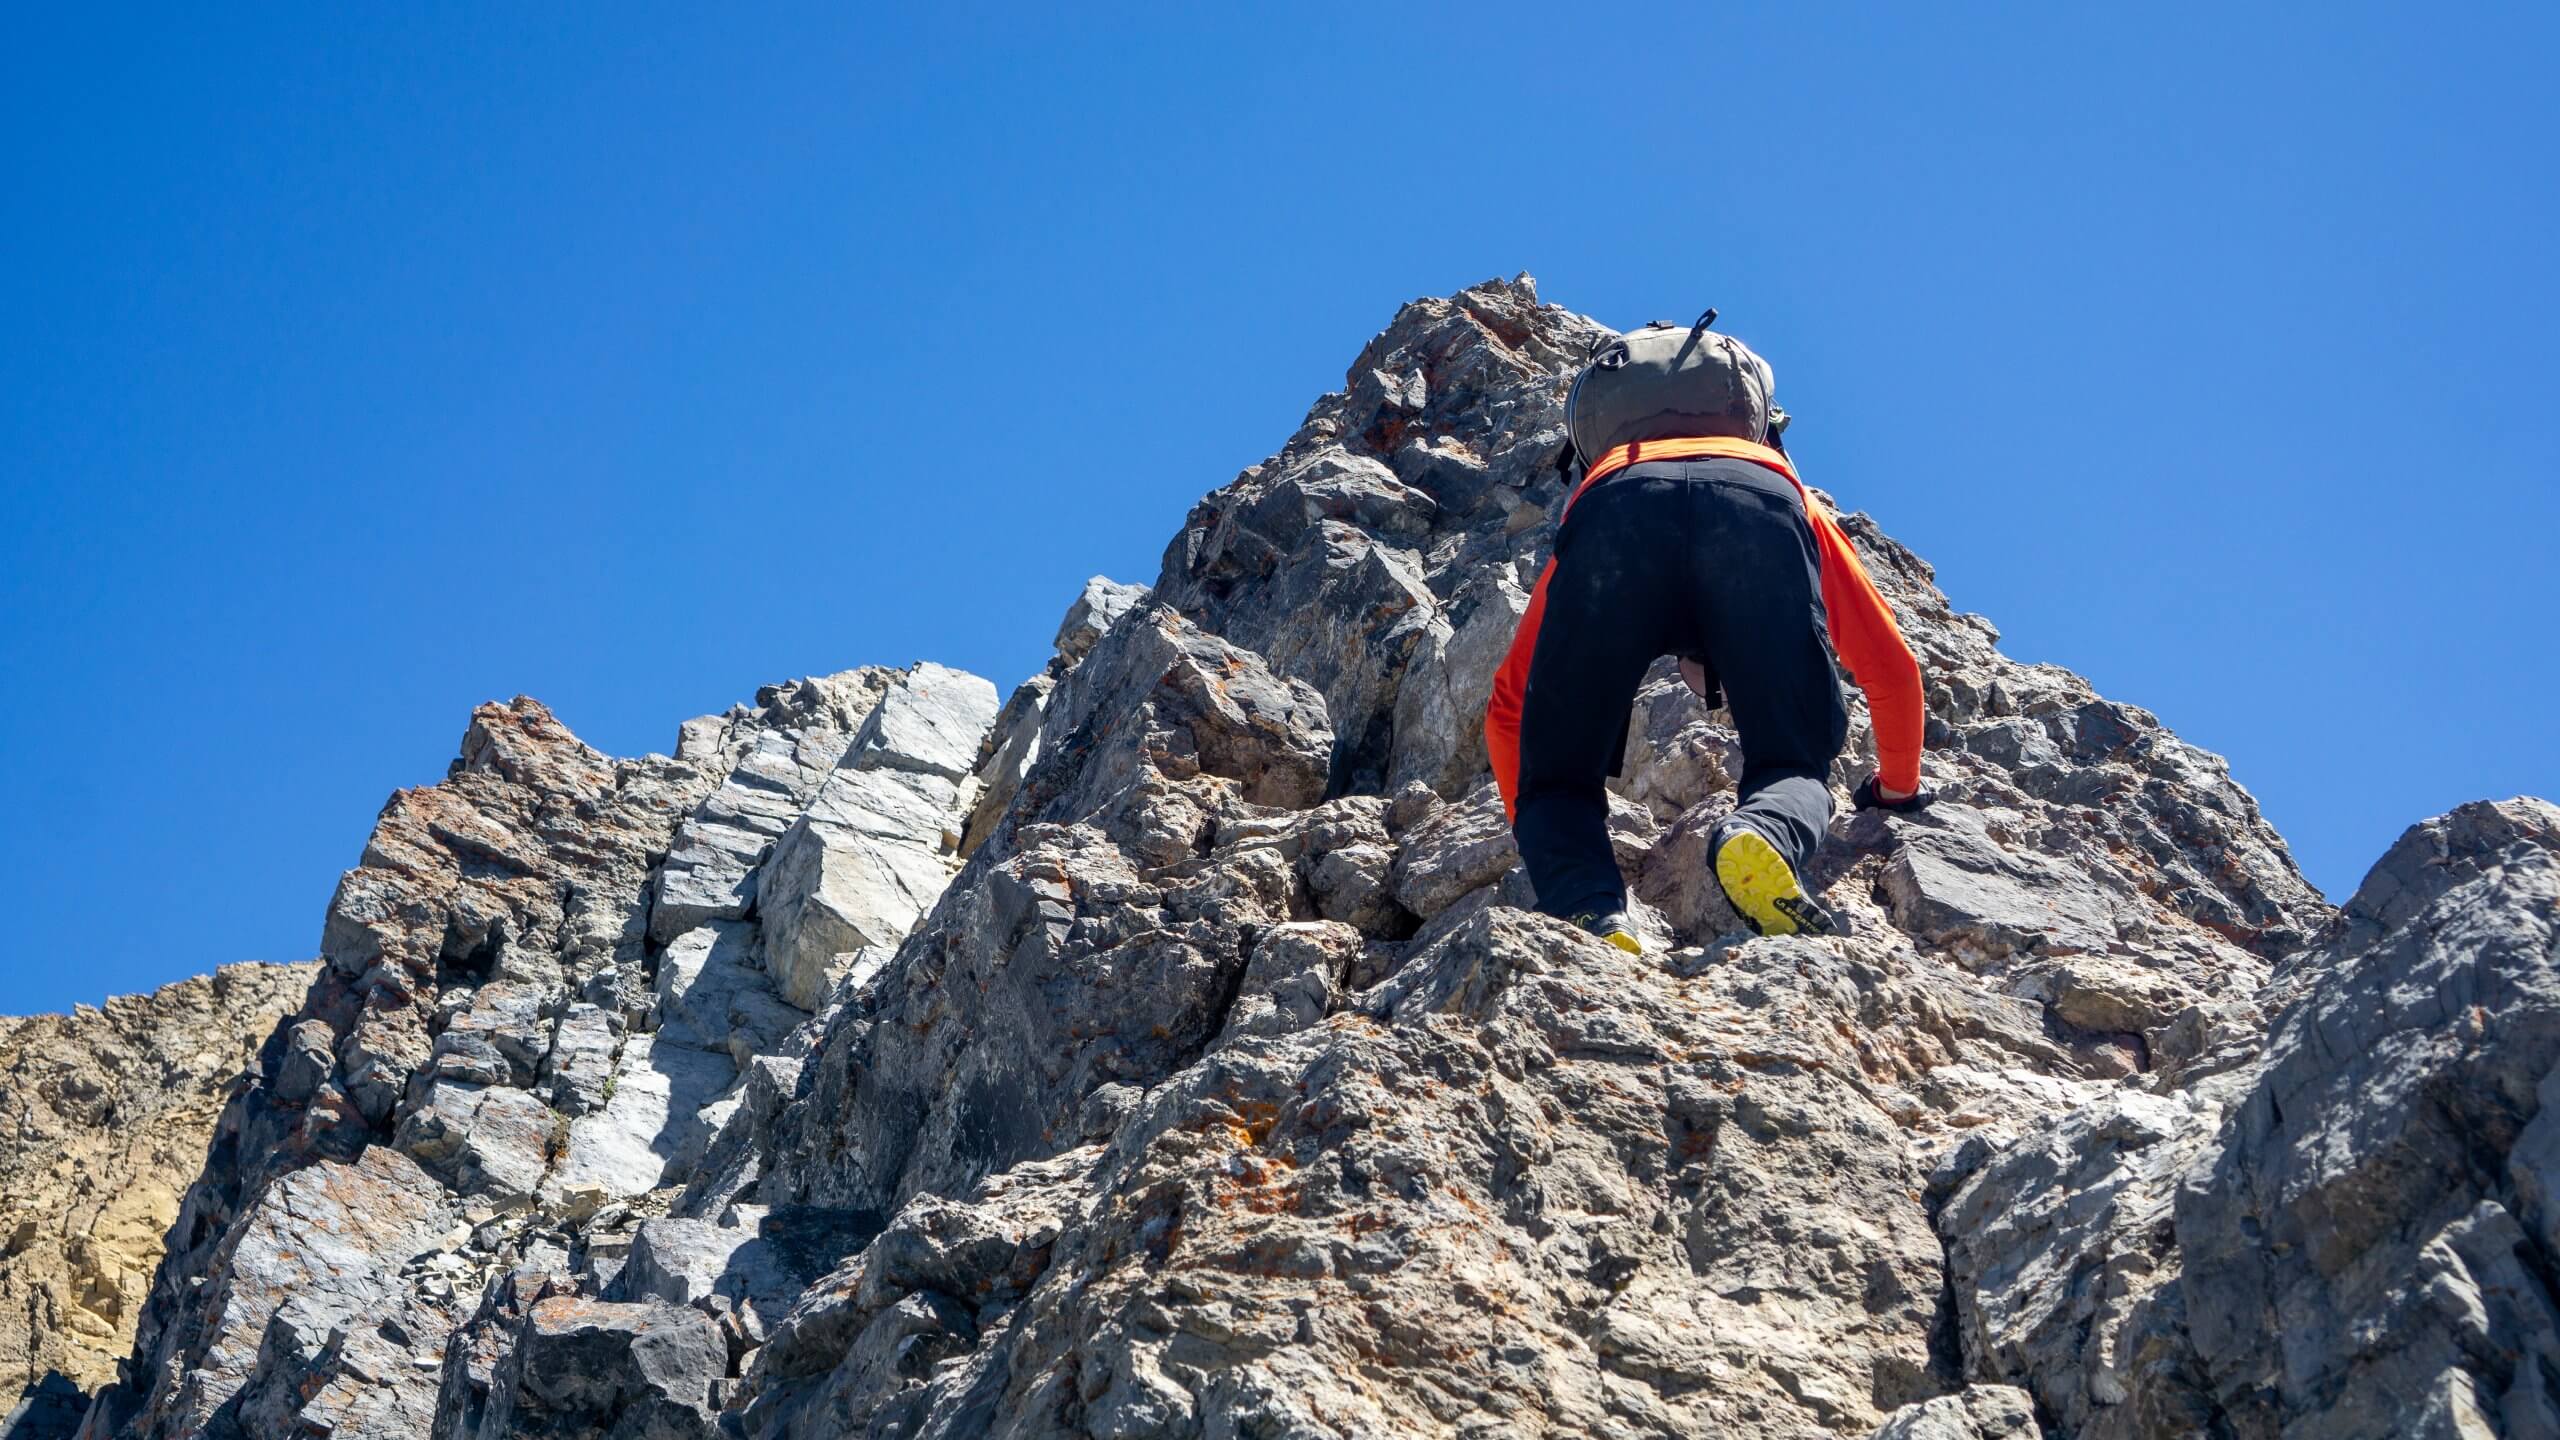
Pressing on? Congratulations! This is what climbers call the “crux,” or the most challenging part of the route. Chicken Out Ridge clambers up a rocky spine protruding with blocky handholds. If you’re not a scrambler, the ridge will feel unnerving at first. But negotiating the geology quickly becomes natural. You’ll be surprised how confidence soars as you make your way across the ridge.
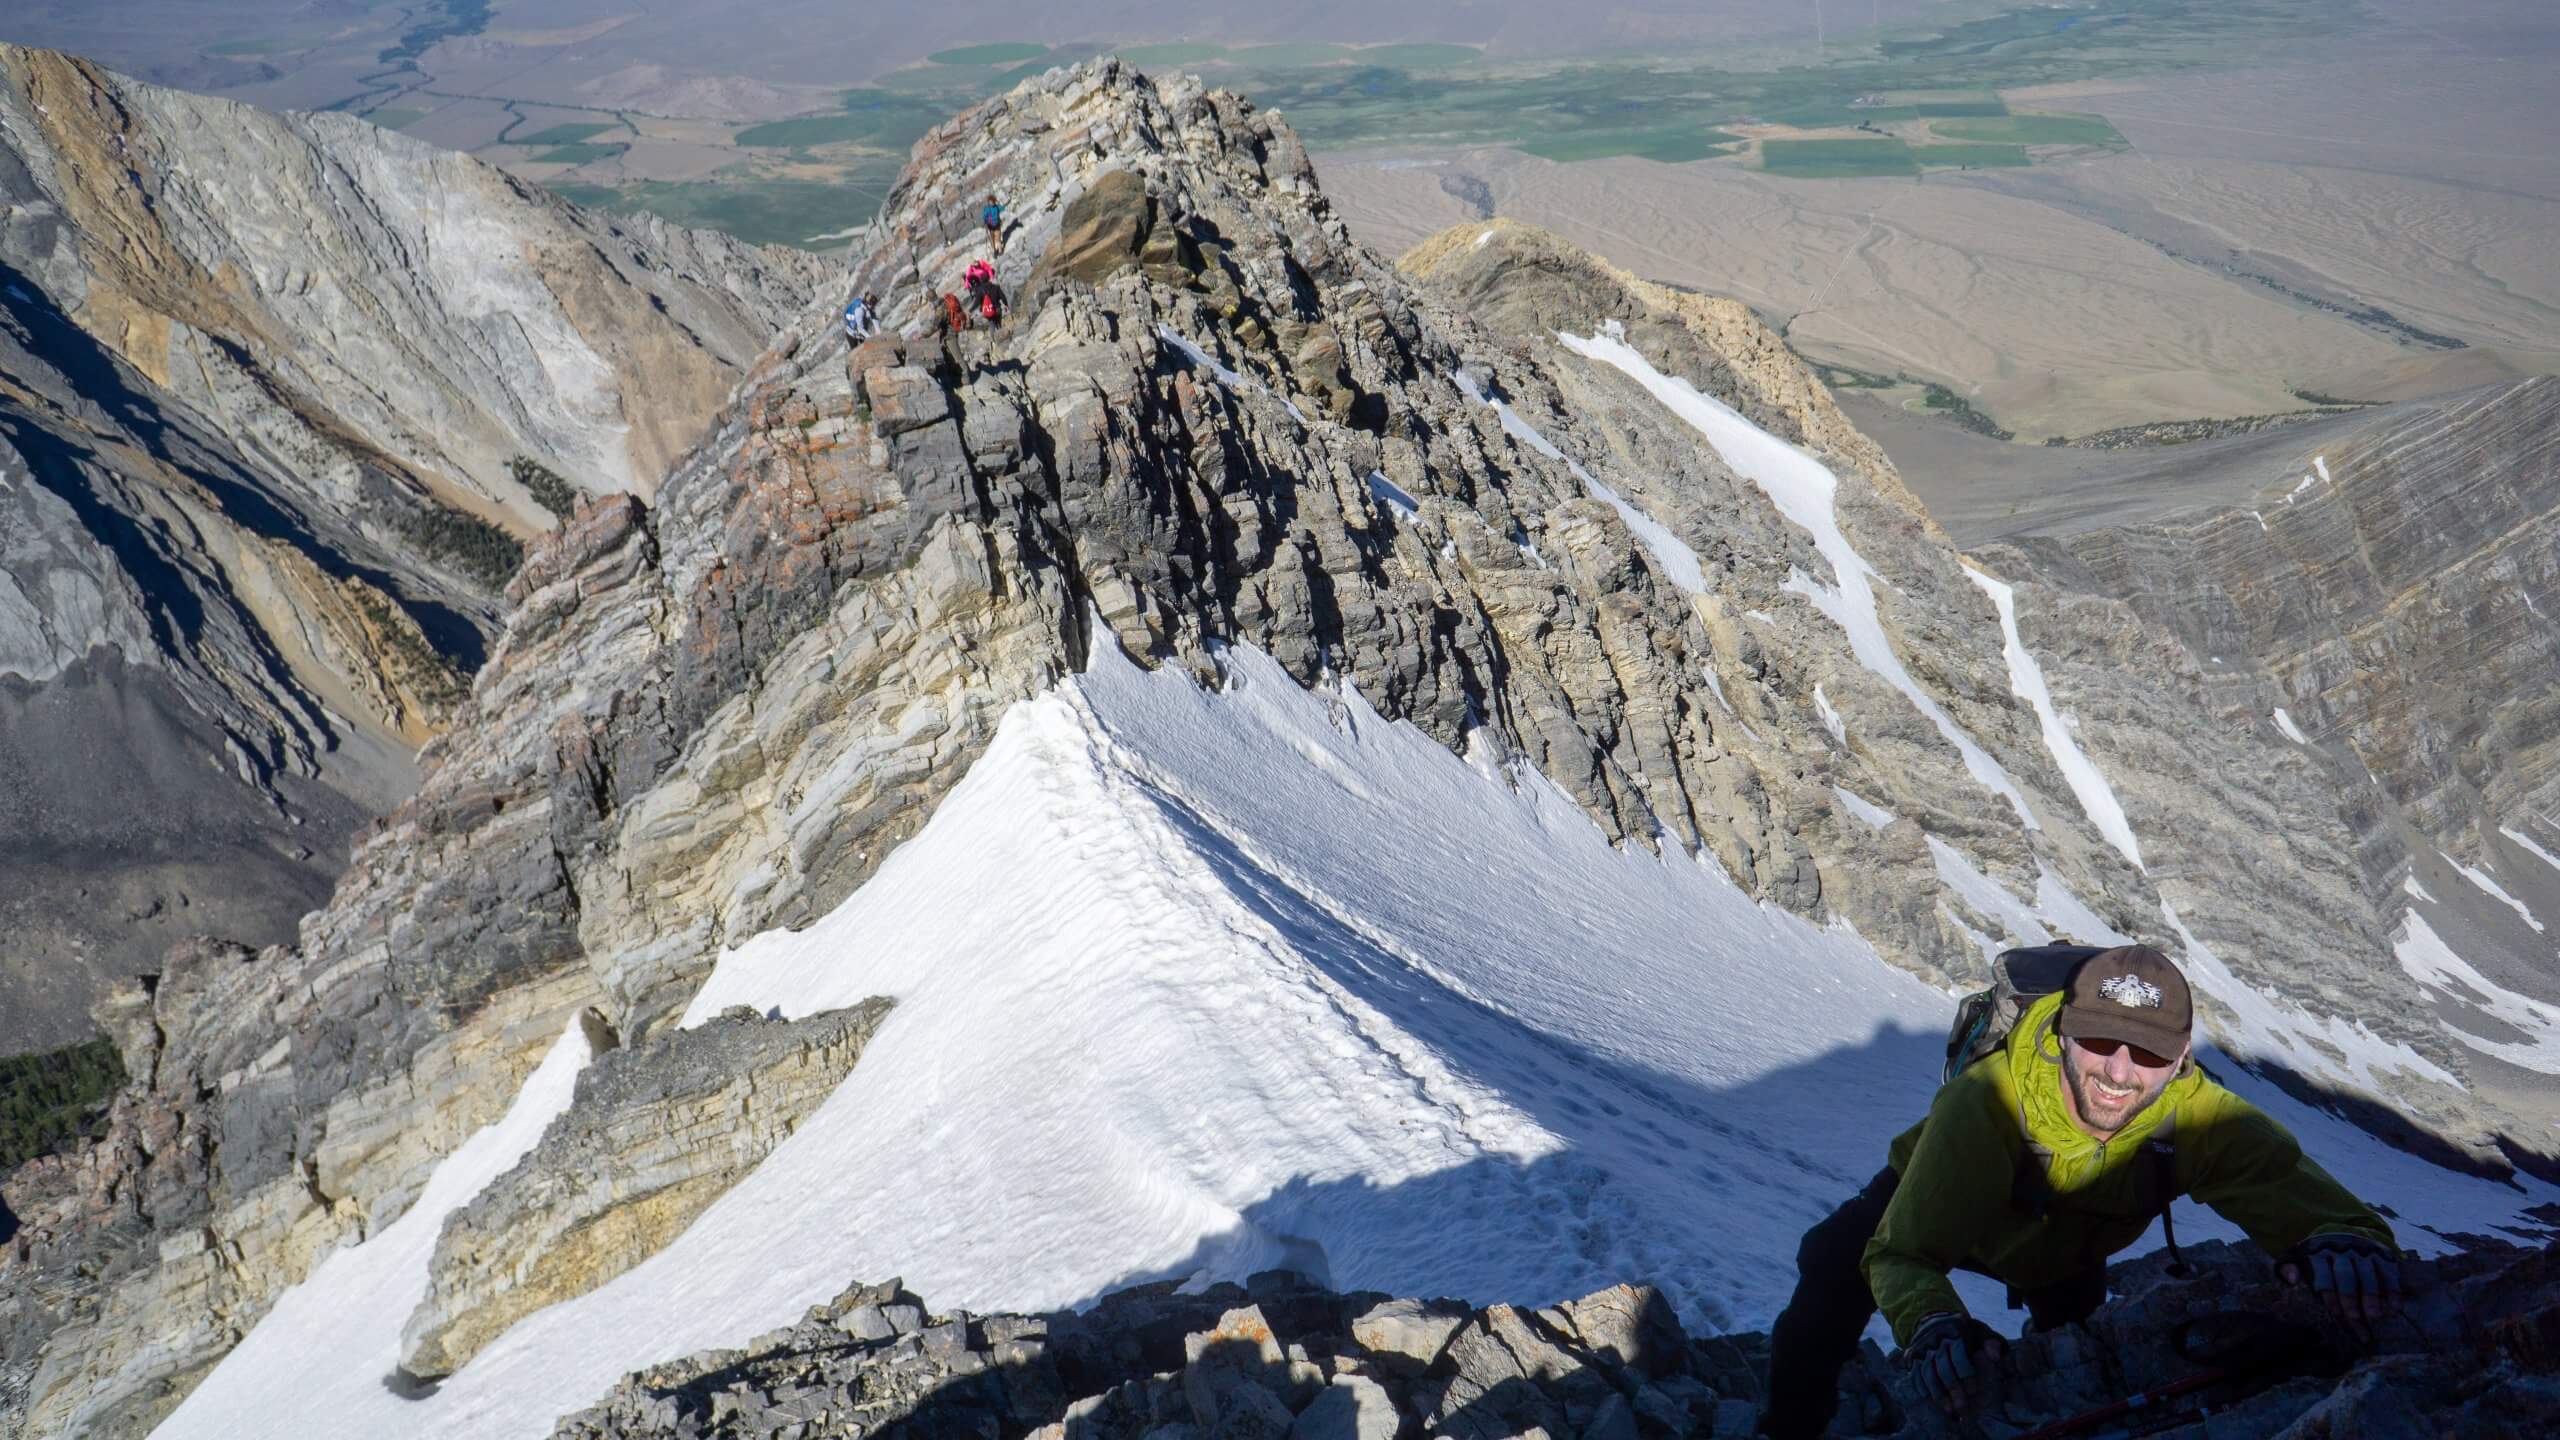
The ridge ends with a 20-foot drop off “the nose.” Sink your hands into generous pockets and climb down onto a snowy saddle below. If you’re tackling Borah before August, the route may be covered with snow. Experienced climbers will feel safer with an ice axe, crampons and belayed with a rope. Lopez shared “the recommended season for beginner climbers is August through Labor Day. If the peak is covered in snow, beginners should wait until after the snow melts.”
The razor-edge snow spine is often stomped out by legions of climbers, creating a well-worn path to the other side. Lopez added, “if the saddle doesn’t look promising, it’s better to turn around than taking on risk.”
The Summit Bid
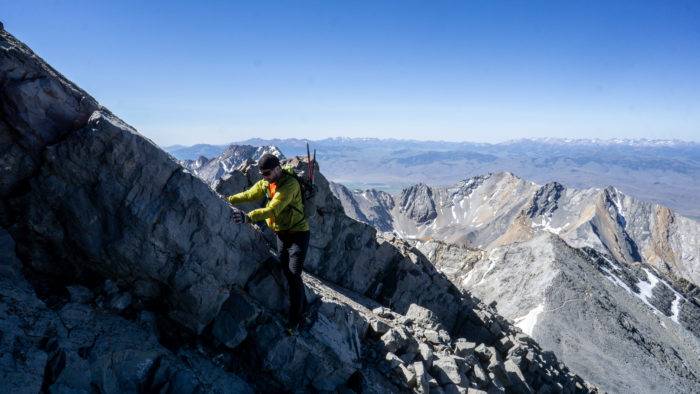
With the crux behind you, give yourself another break and an opportunity to shed clothes, rehydrate, and assess your line to the summit. You’ll have two options. An obscure trail trickles to the left through rocky bands and up to the summit on gravel slopes. If that trail is covered by snow, the more direct route is to shimmy up the rocky shoulder.
“The trail to the left is probably easier,” says Lopez. There is no right nor wrong; either variation is safe but both are a bit of a choose your own adventure. After climbing the rocky face, with a new perspective from the top, we chose to descend the trail. Regardless, it’s going to be about an hour of focused internal dialogue interrupted with heavy breathing.
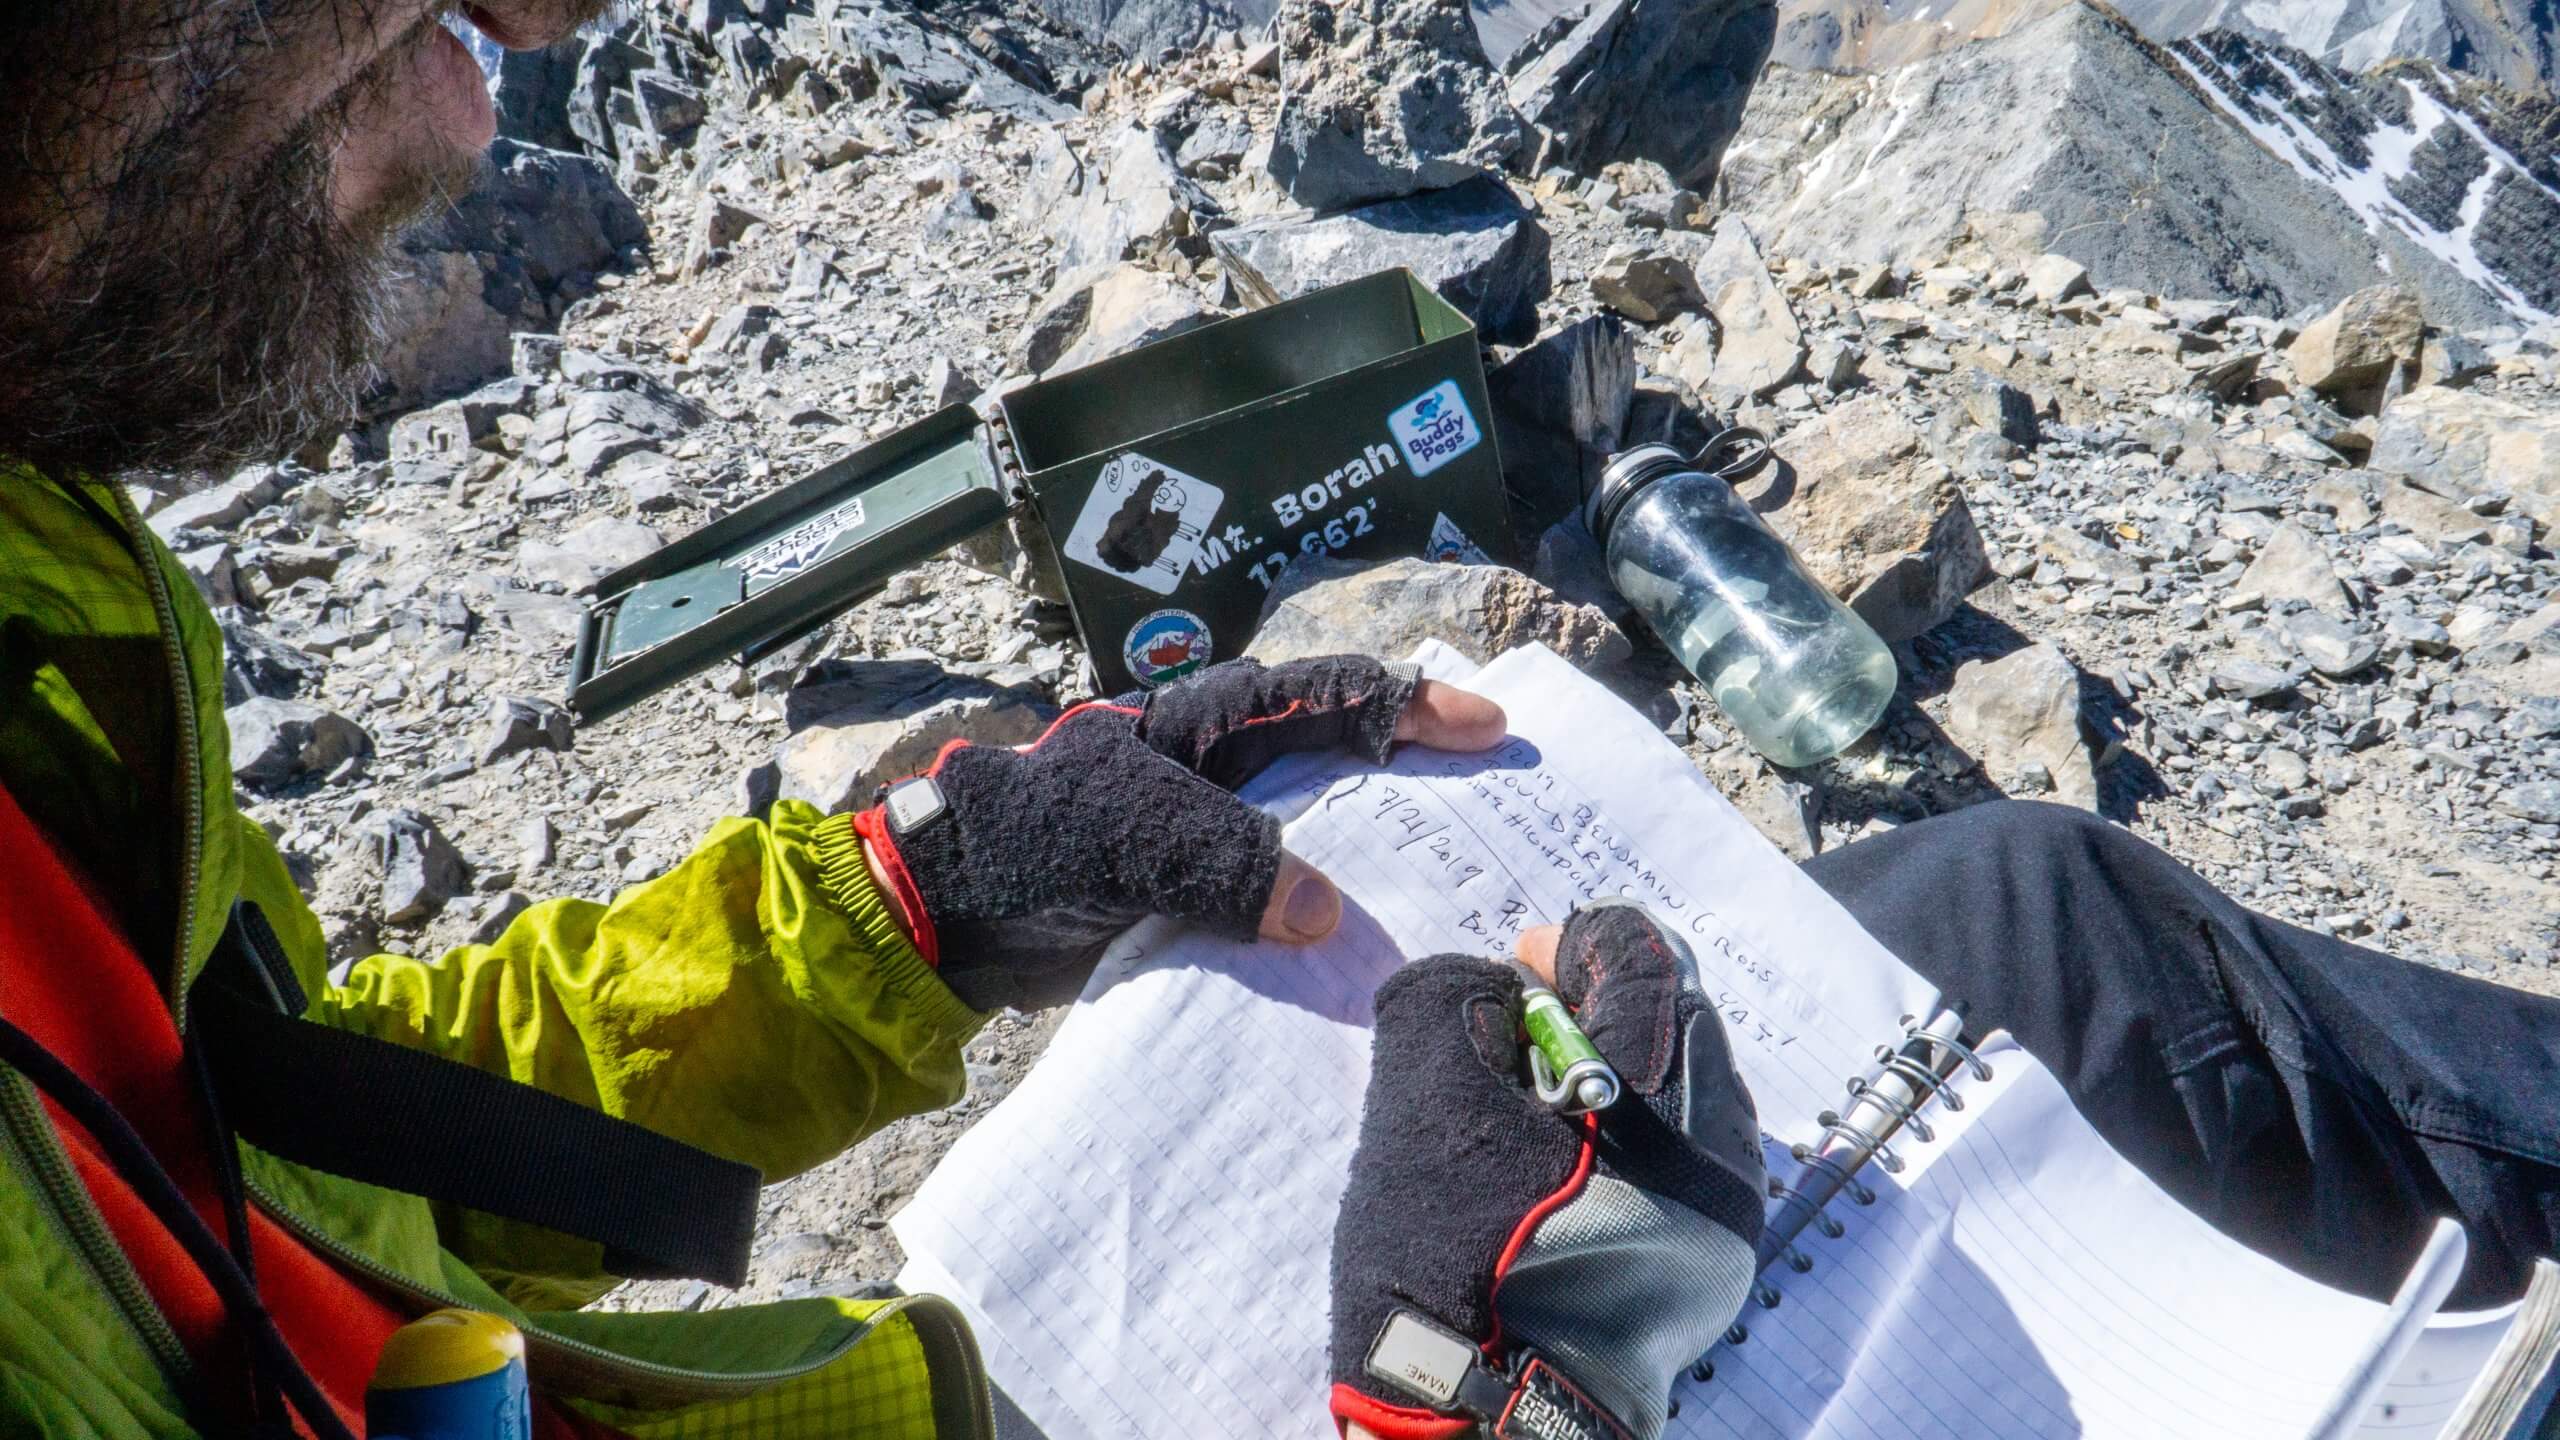
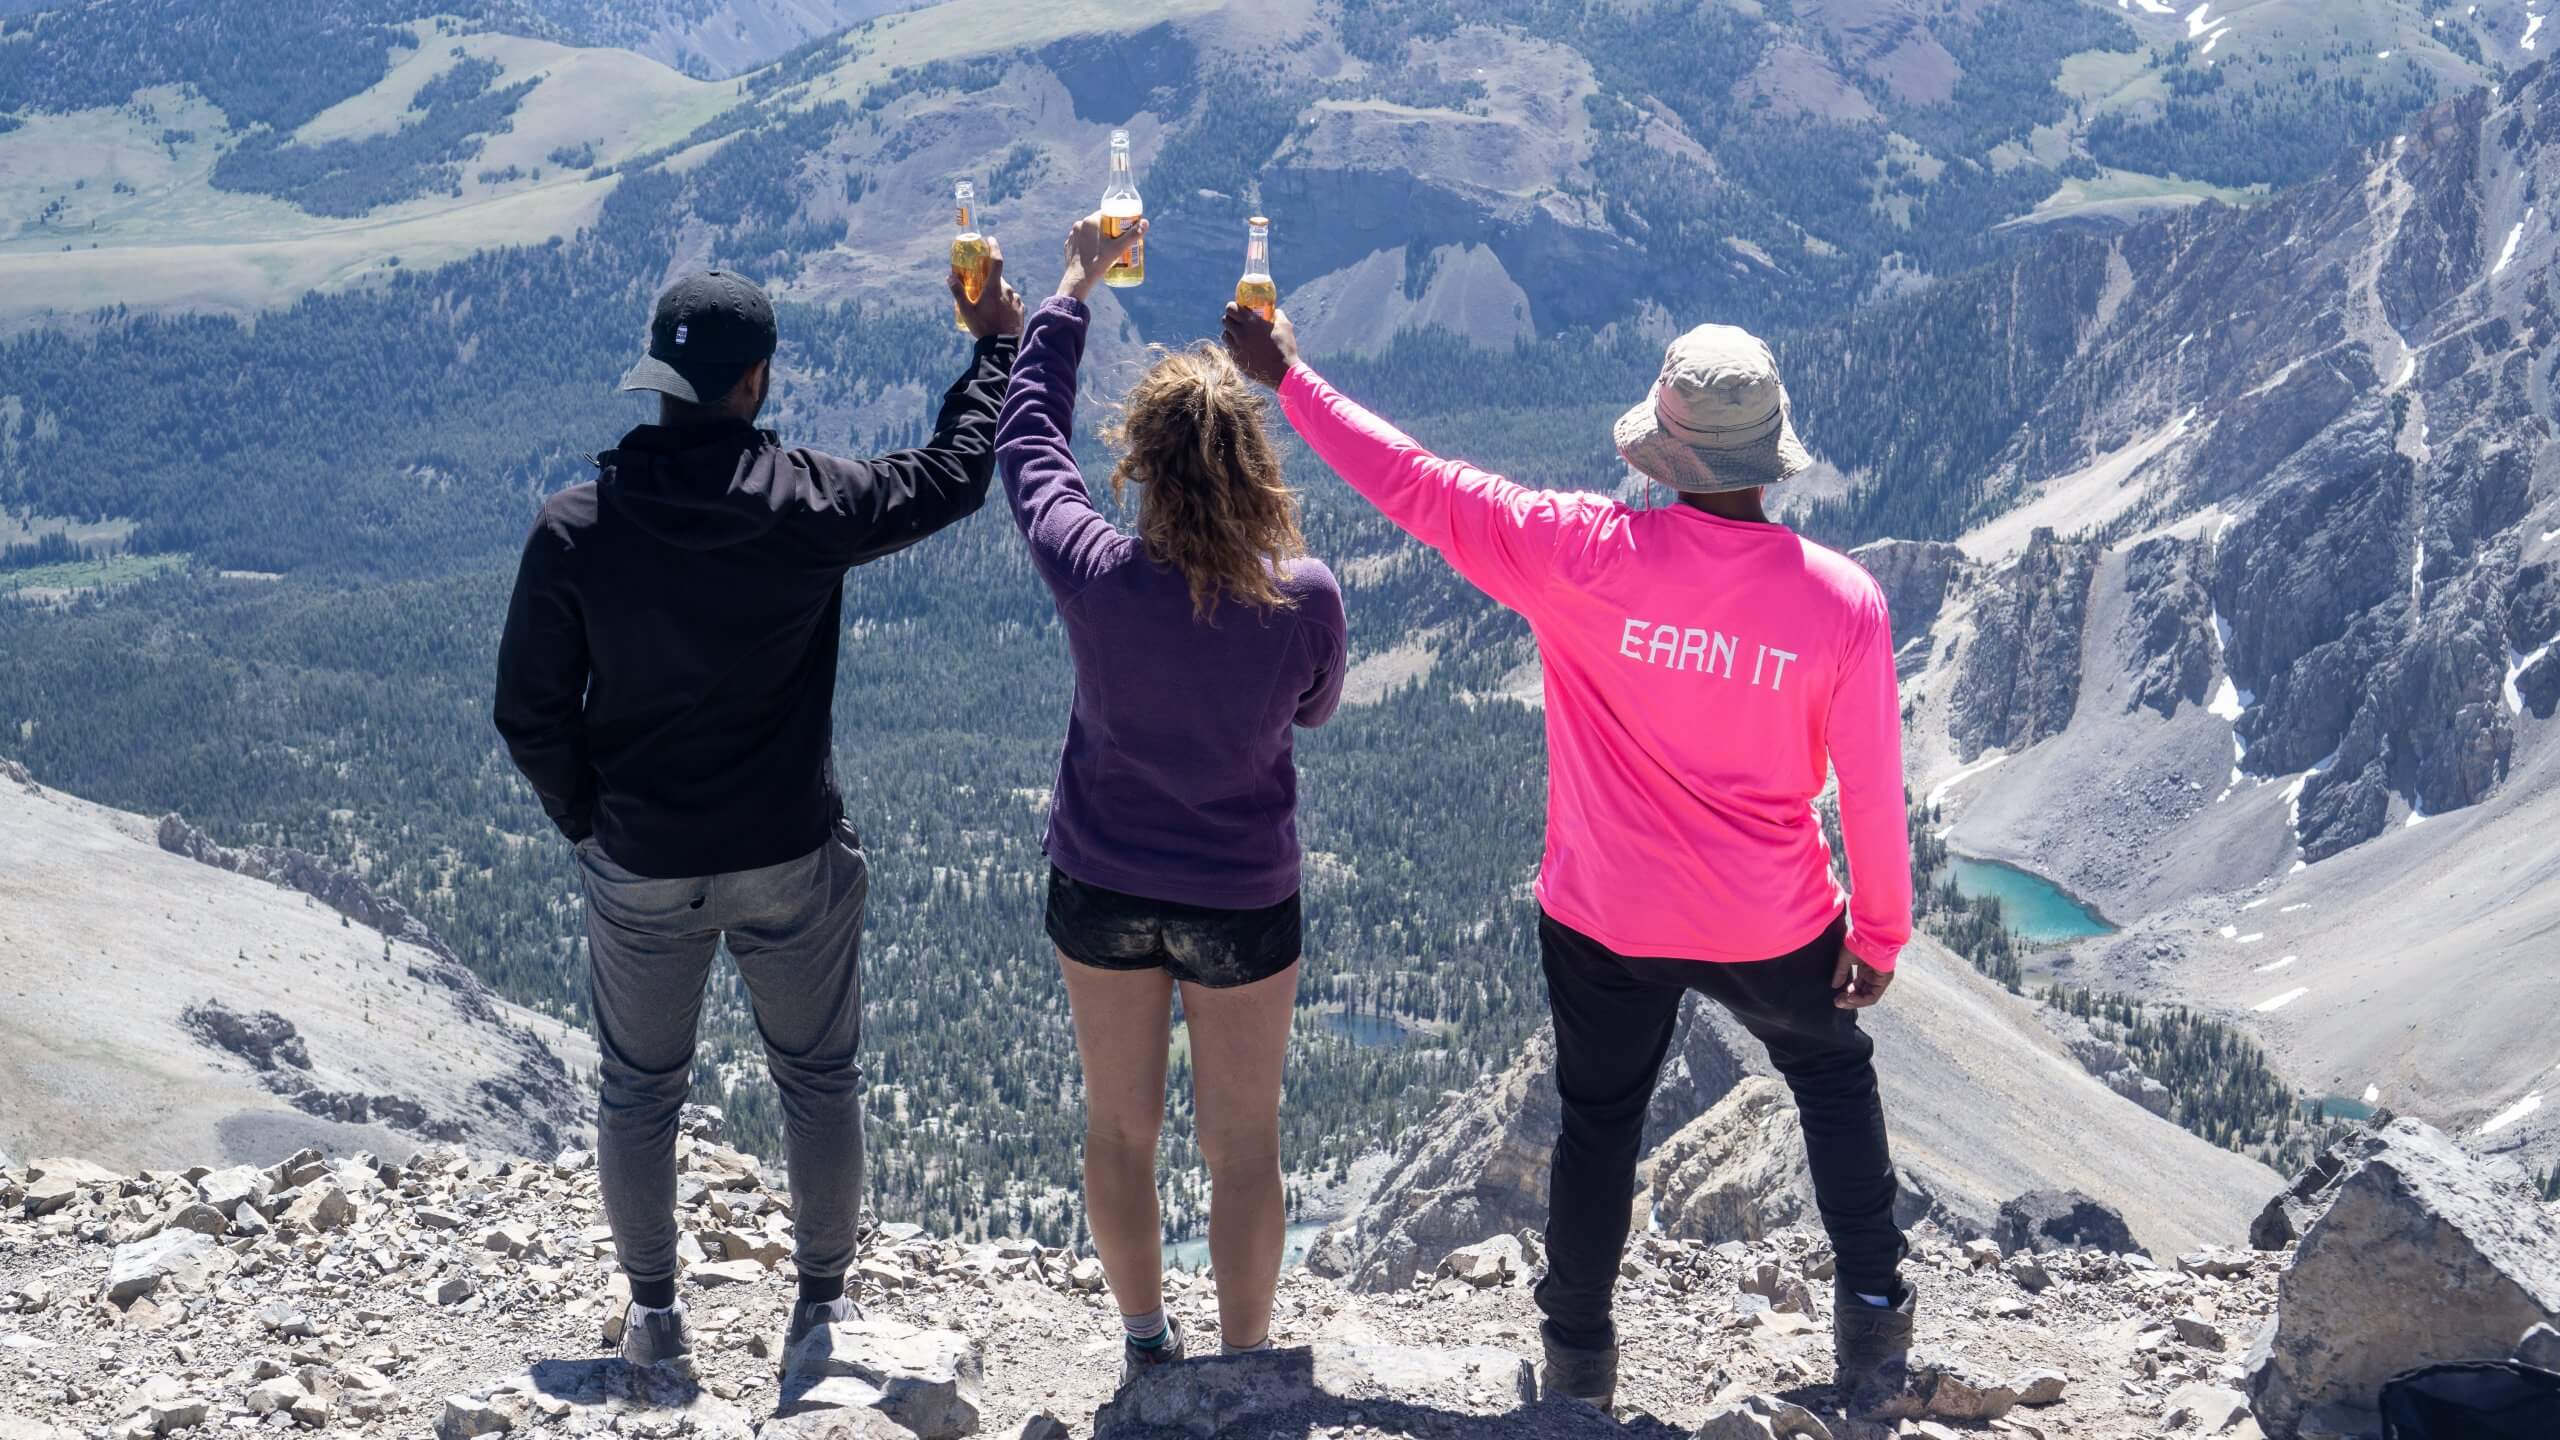
But eventually the summit will come; you’ll recognize it when you see the smile on your partner’s face. The summit crest is well marked with a stack of rocks and an old ammo box, filled with notes, medallions, and a log book. If you look carefully, you can find names carved on the rock dating as far back as 1930.
The Descent
In summer, the summit can be a busy place. We had it all to ourselves for about 15 minutes before our new friends topped out. Take time to enjoy the summit. Put on a layer, snap some pictures, eat some food and drink some water. You’ve earned it!
But the summit is only half the climb. There’s a saying in mountaineering, “the summit is optional; the descent is not.” Fatigue, altitude, and exposure to the sun can tax the body, making the descent as much of a challenge (if not more) as the climb. You brought trekking poles, right? Your knees will thank you as you rethread the route back down into camp.
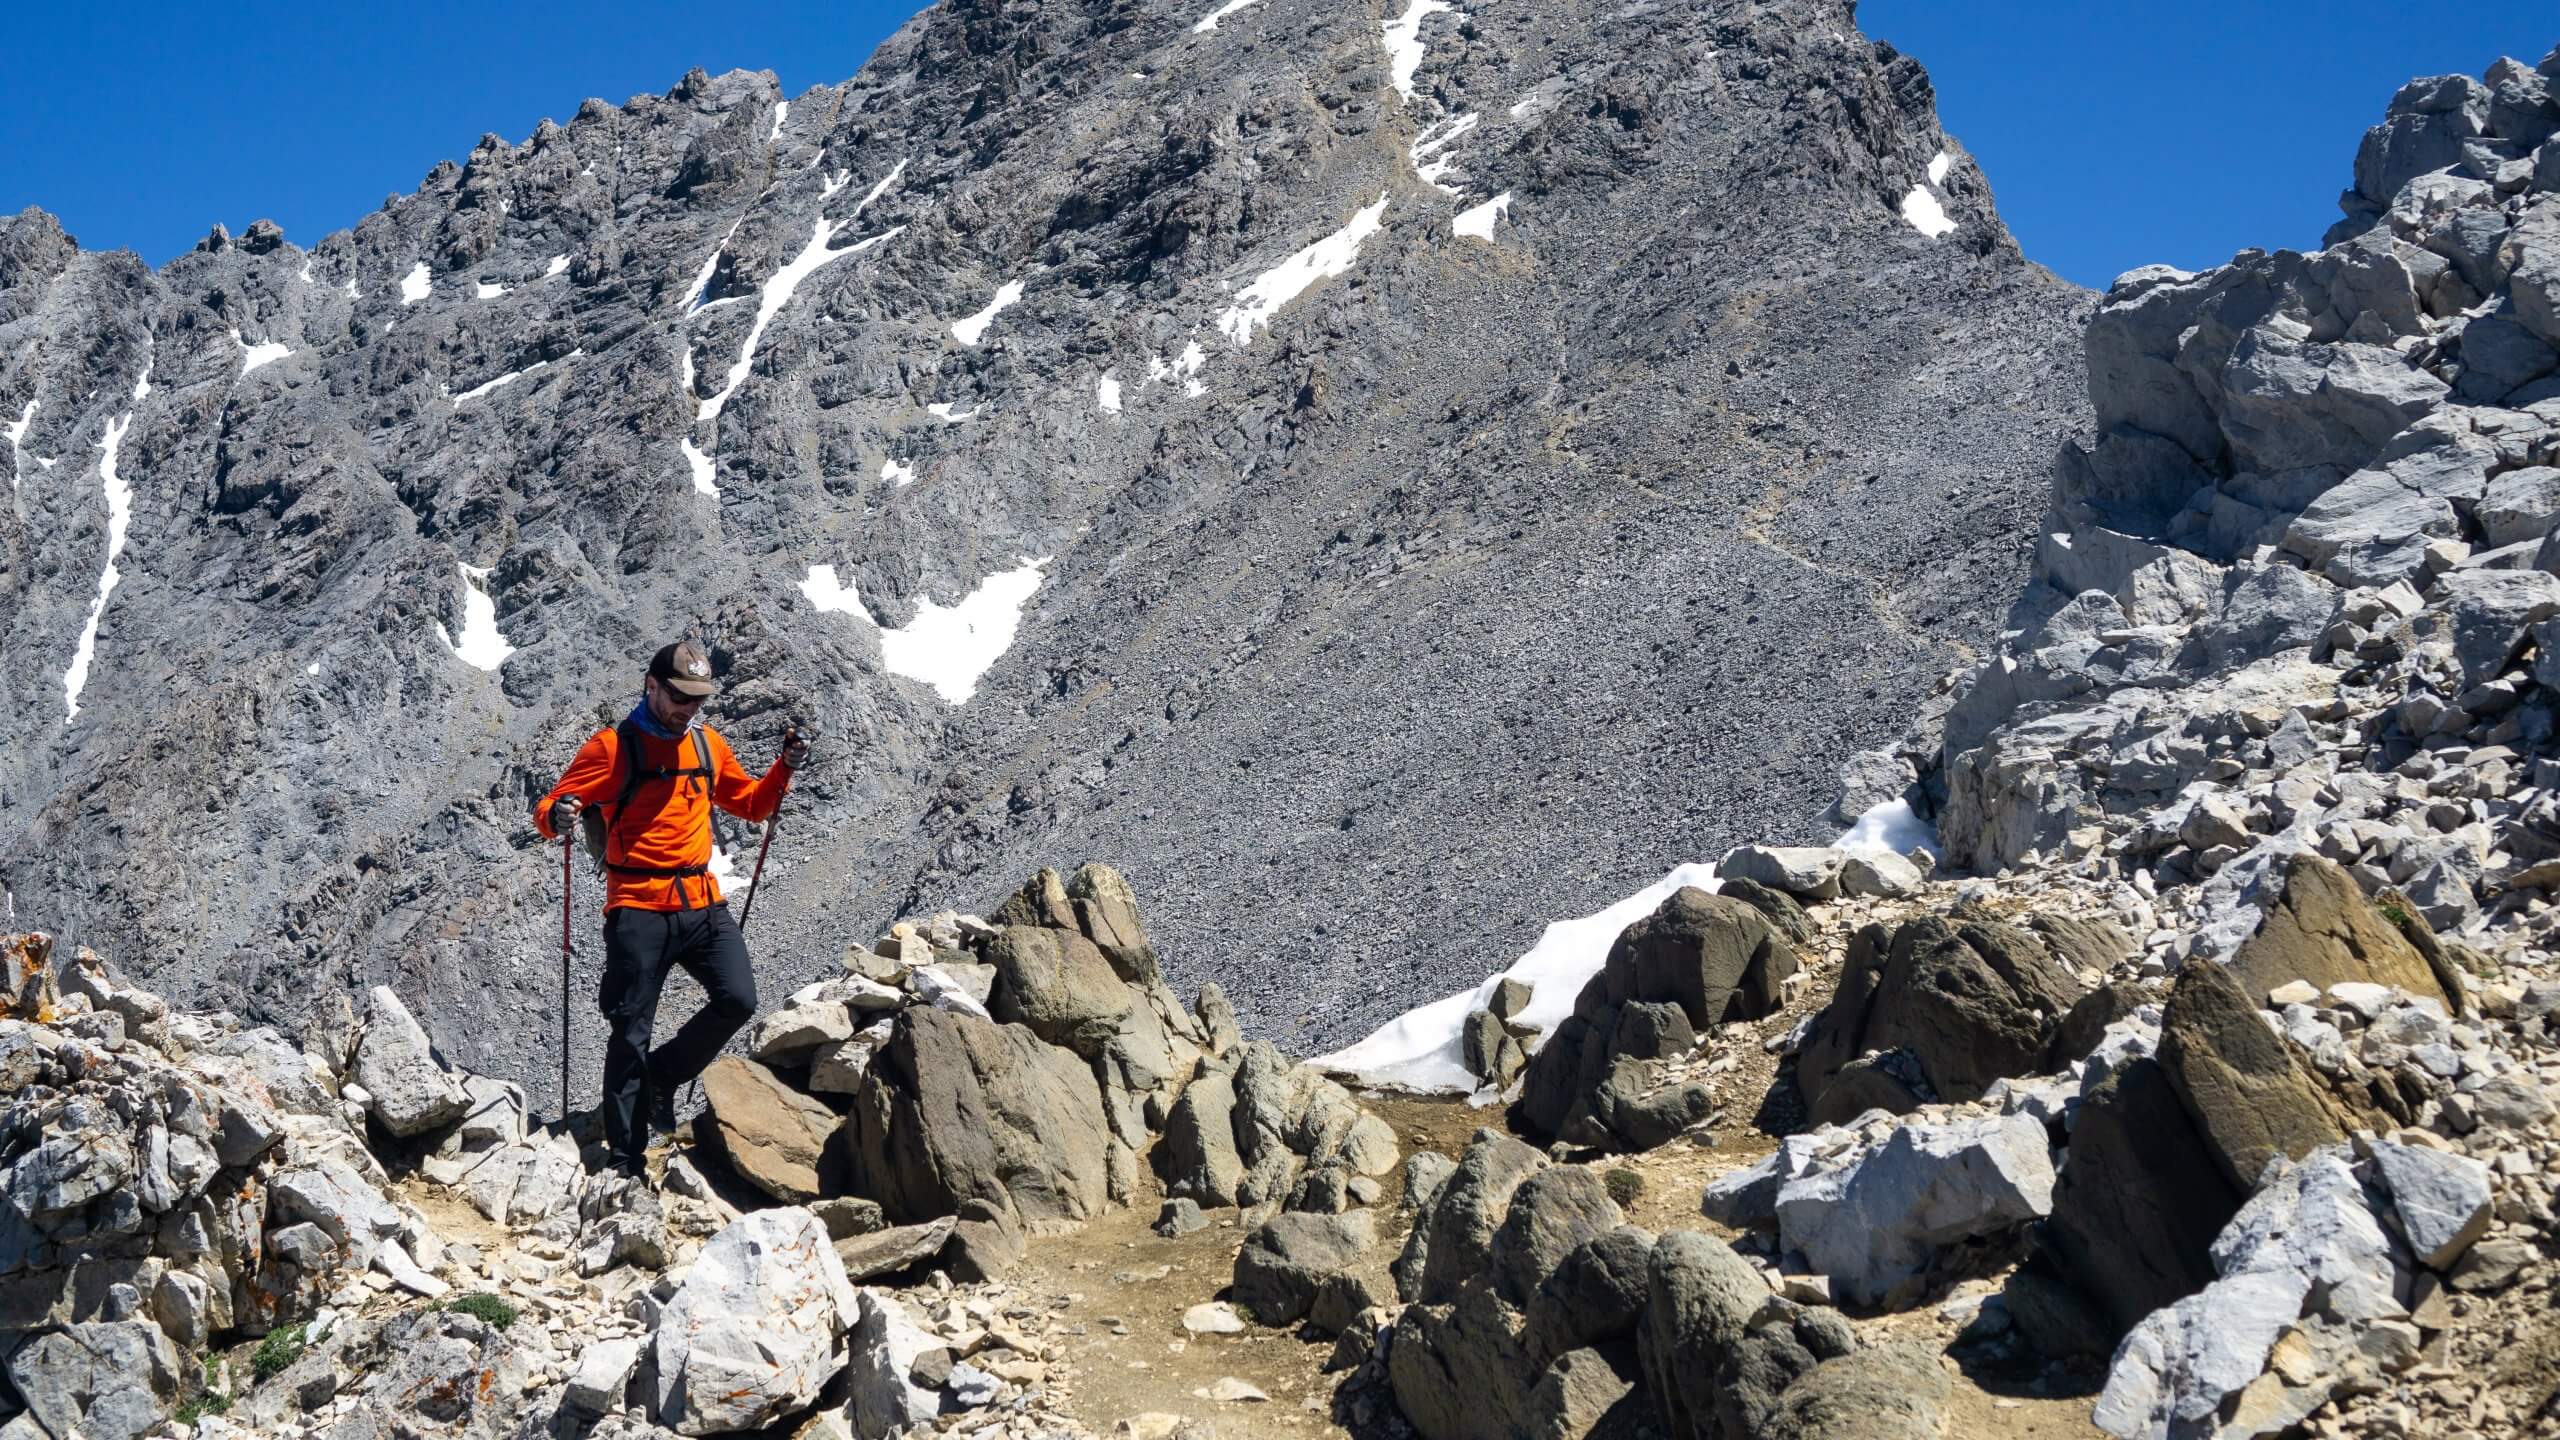
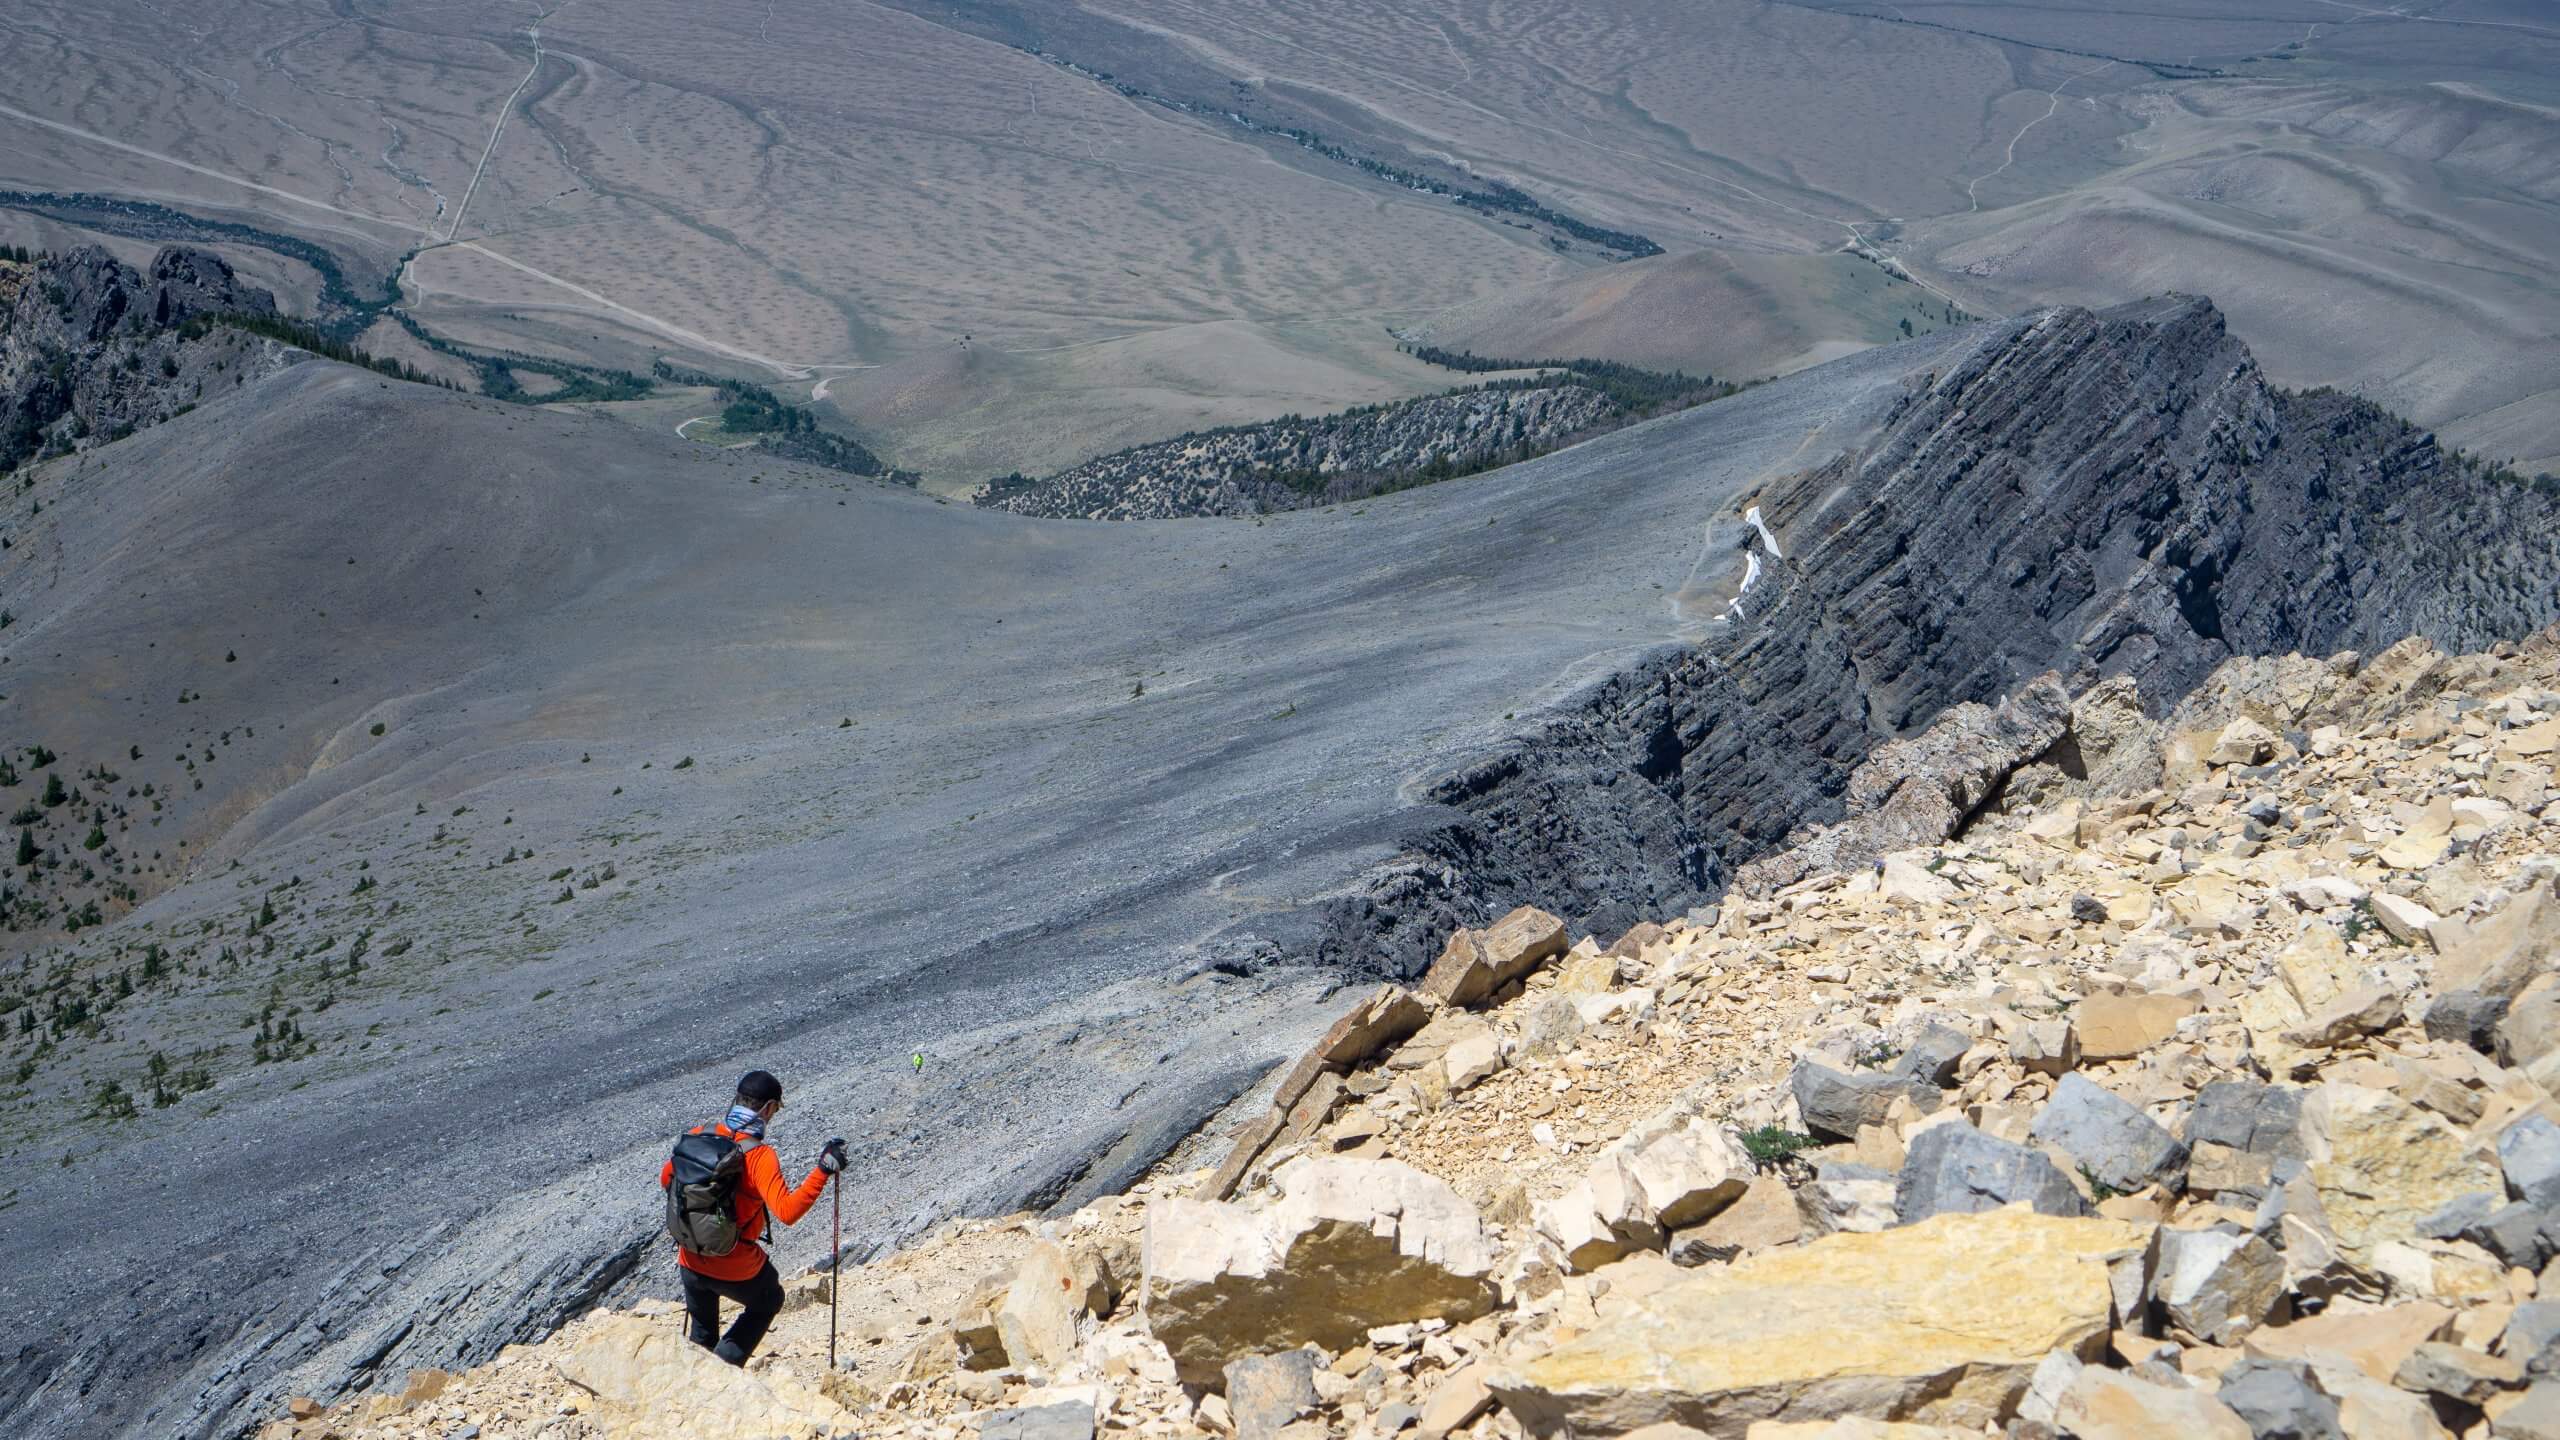
Borah will give your body a shellacking. Your knees will hurt, your toes will be bashed, your shoulders will scream at you to drop the pack. But that cooler and camp chair awaits your return to recount this once-in-a-lifetime experience with friends.
As they say, pain is temporary, the summit is forever. Climbing Borah is an experience you won’t soon forget.
When To Go
Borah has been climbed during every month. But it’s most popular to tackle it after the campground has opened, at the end of May. Even then, the snow may obscure the route late into July. The best time for beginners to climb Borah is after August 1st through Labor Day.
What To Bring
Gear is candy to a climber and there are endless reasons to invest in more. The standard route–the southwest ridge–isn’t outright technical, but you should be prepared to bring the following:
| Required Gear | Details |
| Map and compass | |
| Headlamp and batteries | |
| Sun protection | Hat, sunglasses, and sunblock (spf 30 or higher) |
| First aid kit | With pain relievers, antihistamine, bandages, gauze, tape, blister kit, insect repellent, anti-diarrheal, electrolytes, emergency blanket, and water purification |
| Extra clothing | Rain jacket, insulated jacket, gloves and warm hat |
| Food | 600-1000 calories |
| Water | Bladder or bottles to carry 2 – 3 liters of water |
| Firestarter | For just in case |
| Duct tape | It holds the universe together |
| Backpack | 20-30 liter pack to put it all in |
| Clothing | Details |
| Shirt; short sleeve | Wool or synthetic |
| Shirt; long sleeve | Wool or synthetic |
| Wind shirt | Lightweight |
| Rain jacket | Lightweight |
| Insulated jacket | Down or synthetic |
| Pants | Synthetic to protect from sun and sharp rock. Cuff snaps or drawstrings allow pants to roll up, cooling the legs on the descent. |
| Socks; liner | To protect the feet from blisters |
| Socks; hikers | To pad the feet and keep them warm |
| Foot wear | Trail runners or hiking shoes |
| Optional Gear | Details |
| Hiking poles | Helps on both the climb and descent |
| Toilet paper | |
| Blue bag | Not required and they don’t offer it, but it’s not a bad idea to pick up a ‘blue bag’ for disposal of human waste. It keeps the mountain clean for all of us. |
| Rope, ice axe, crampons | If you know how to use them |
Feature image credited to Steve Graepel.
Steve and his wife Kelly live in Boise, Idaho with their two children, Chloe and Ethan.
Published on August 27, 2019
