Elisabeth Brentano worked in partnership with Visit Idaho to create this Travel Tip.
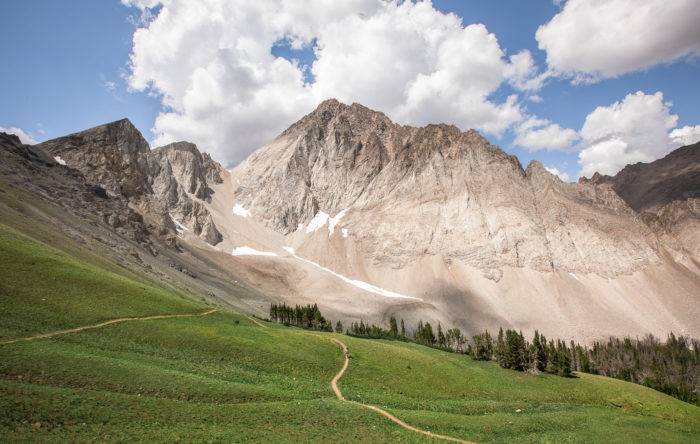
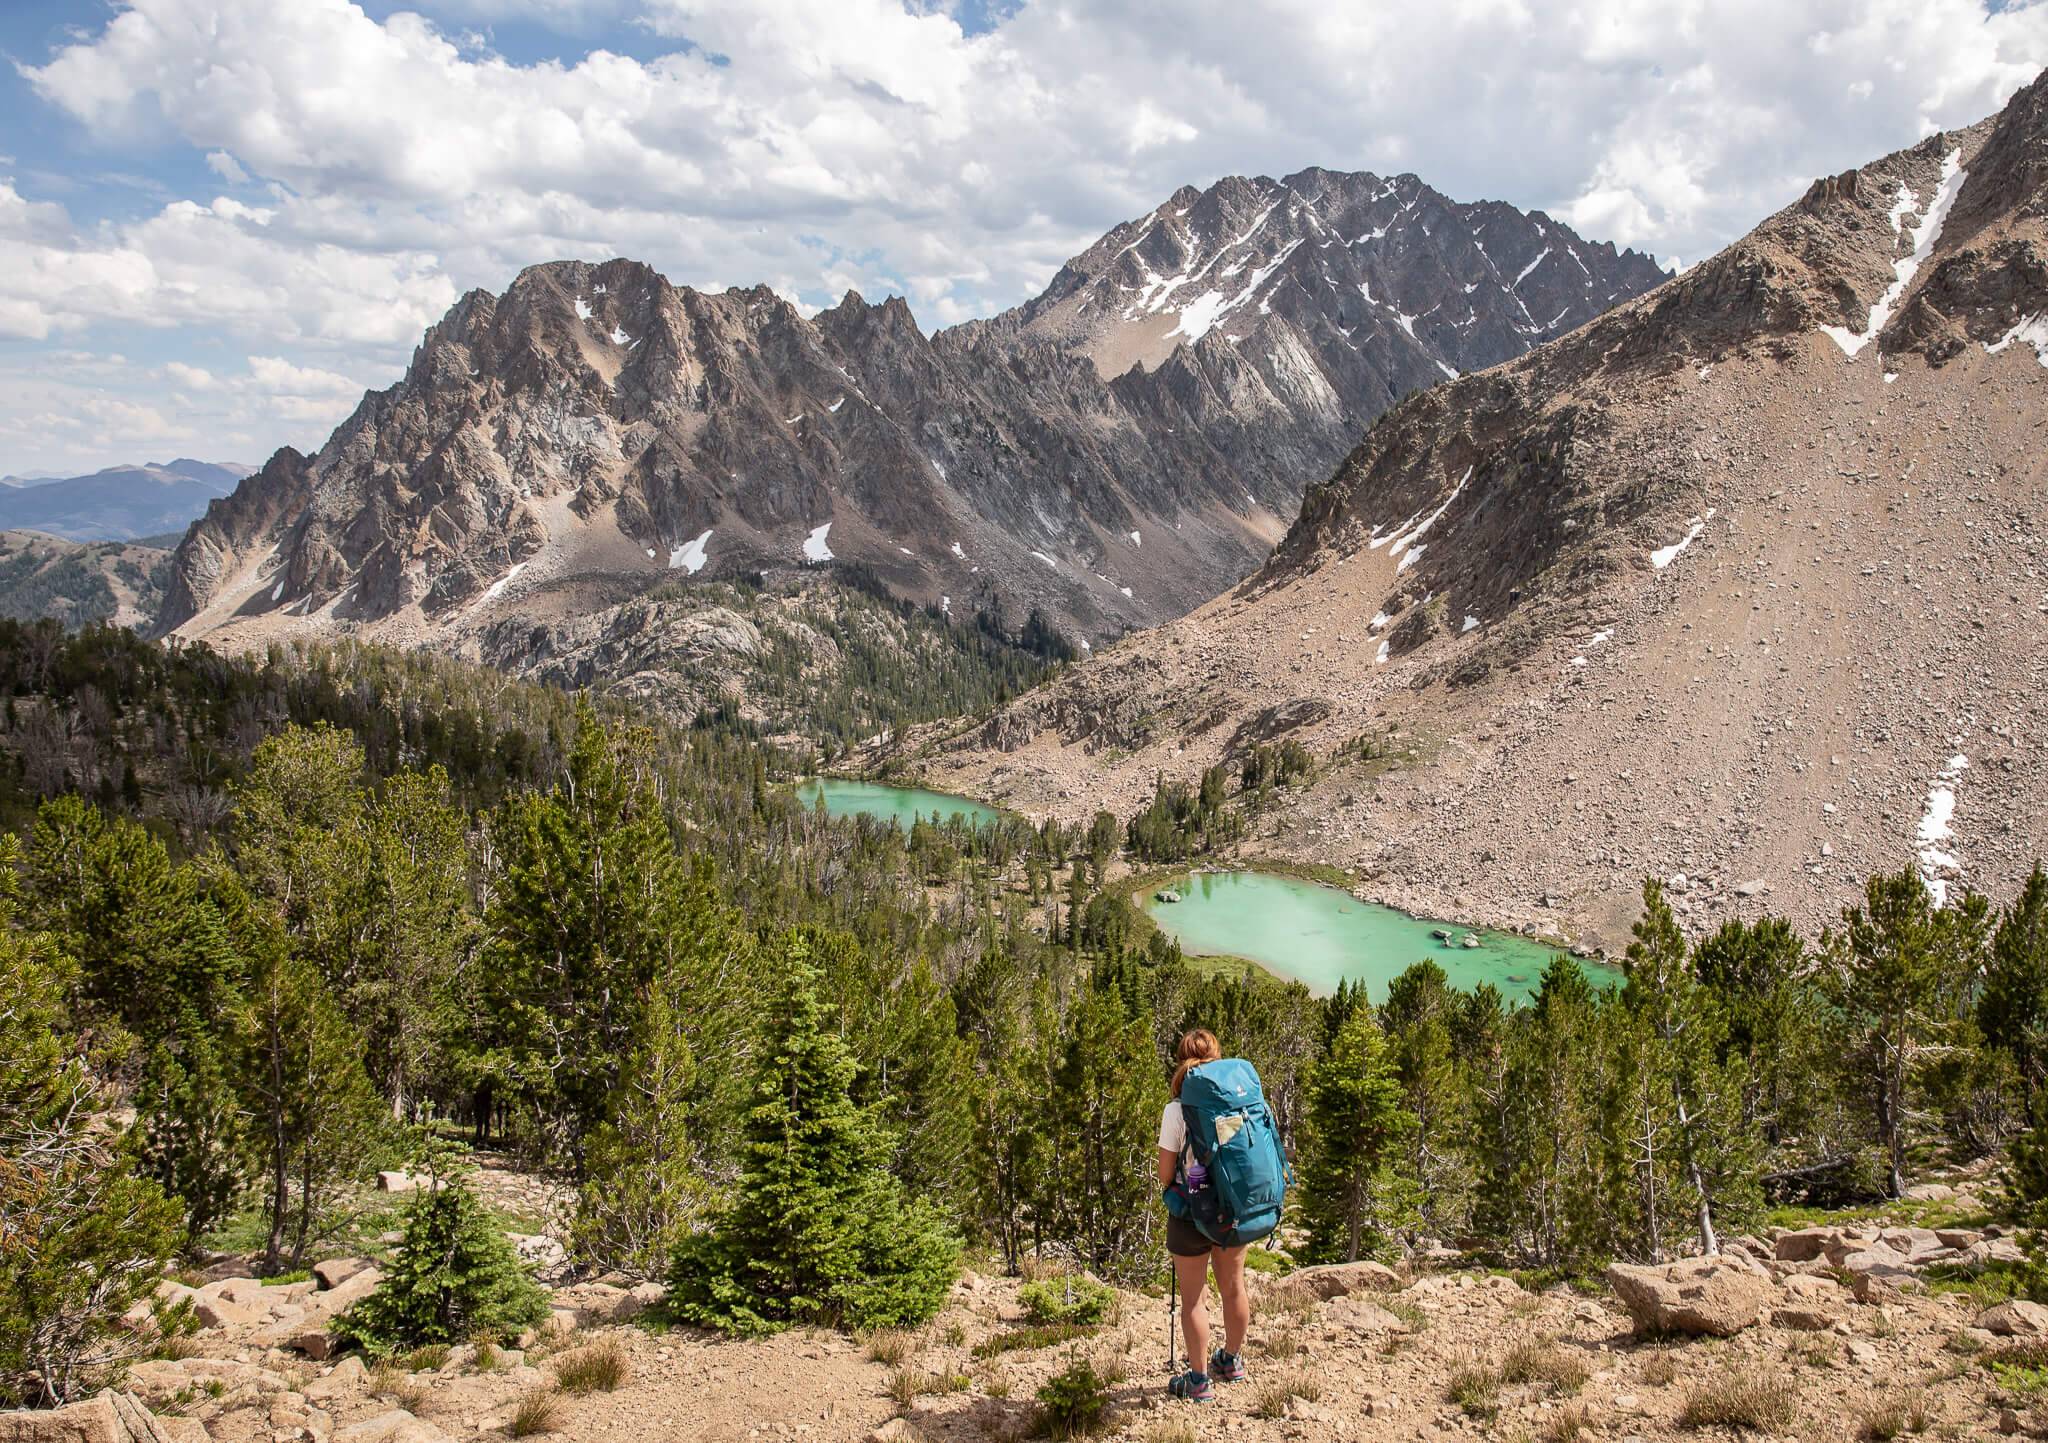
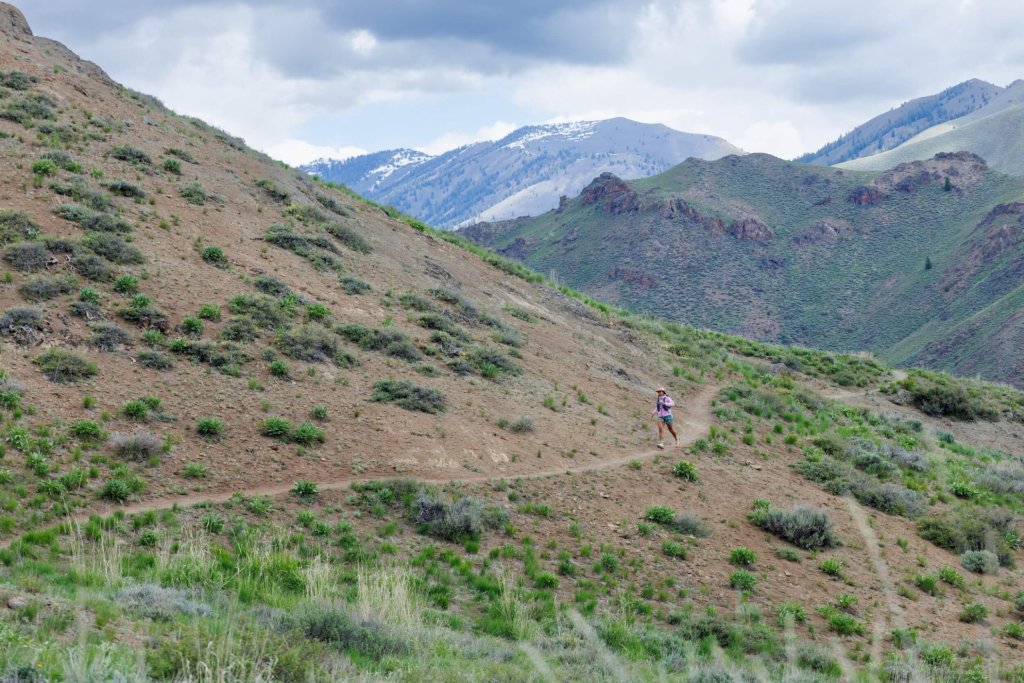
After backpacking the Cramer Divide in Idaho the past two summers, I wanted to try a different route in the Sawtooth National Forest this year. A fellow hiker recommended the White Cloud Mountains, and a quick Google search revealed lakes the color of rare gemstones and towering peaks. After reading countless trail reports, studying maps and chatting with the local ranger station, my friend Nicole and I settled on one variation of the nearly 30-mile, partially off-trail White Clouds Loop, which we hiked counterclockwise from the Fourth of July trailhead. While the first three days went by without a hitch, the fourth day wasn’t as easygoing and had we not been prepared, it could have been disastrous.
I would like for this trip report to serve as a first-hand account of the White Clouds Loop, and I hope that the information I’ve provided can help other hikers make smarter choices if they want to explore this area of central Idaho.
While the majority of the loop consists of well-maintained trails, the area between Born Lakes and the Windy Devil Pass is a bit of an unmarked mystery. One variation of this off-trail section includes a small stretch of class four scrambling at nearly 11,000 feet with loose rock and exposure, while another takes hikers across the aptly-named Devil’s Staircase, an exposed (but slightly easier) scramble above 10,000 feet. Whichever way you go, at least two miles of the loop are on completely unmarked trails in and around mountain passes, so only seasoned hikers with climbing and route-finding experience should attempt it. If you’re a beginner or intermediate-level hiker, please consider doing parts of the White Cloud Loop as an out and back, which skip the treacherous parts.
I have provided information at the end of this article about alternate routes that are safer, while still offering all of the same stunning scenery pictured here.
Day 1: A Rainy Trek to the Chamberlain Basin
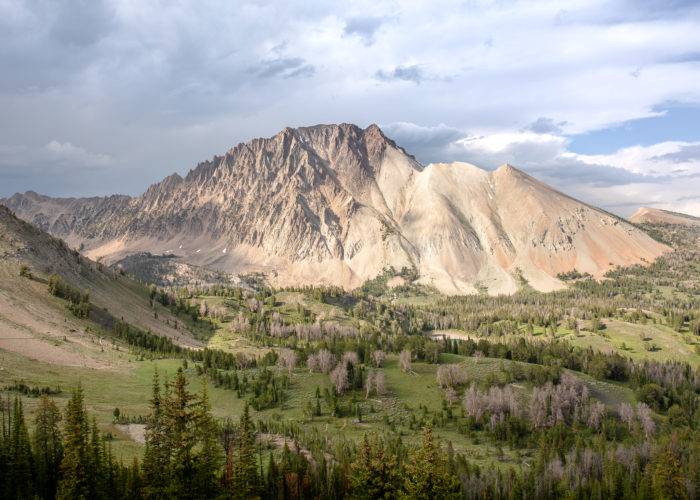
With just 1,800 feet of gain and 1,500 feet of descent over the course of approximately 8.5 miles, hiking to the Chamberlain basin was the perfect way to kick off our trip. The trailhead elevation is approximately 8,700 feet, and after making our way up to 9,500 feet and back down to 8,600 feet, we went back up to nearly 9,800 feet before dropping down to the basin at 9,200 feet. The trail was in the tree line the entire time, so there were plenty of spots to stop when a late afternoon storm rolled in. We passed by miles of wildflowers along the trail, along with a section of forest that was burnt during the Bible Back Fire in August 2018.
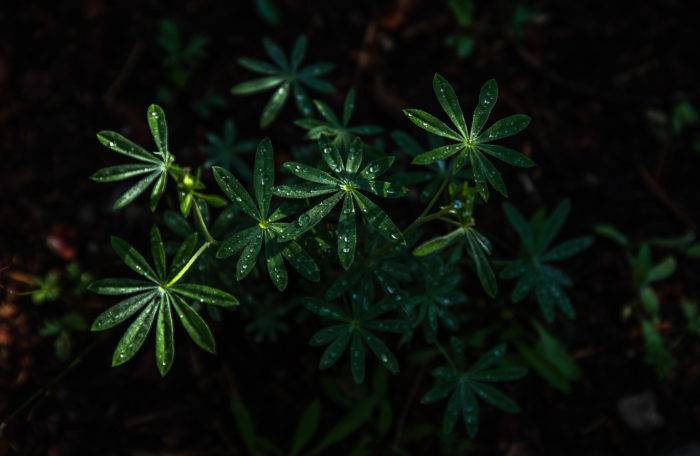
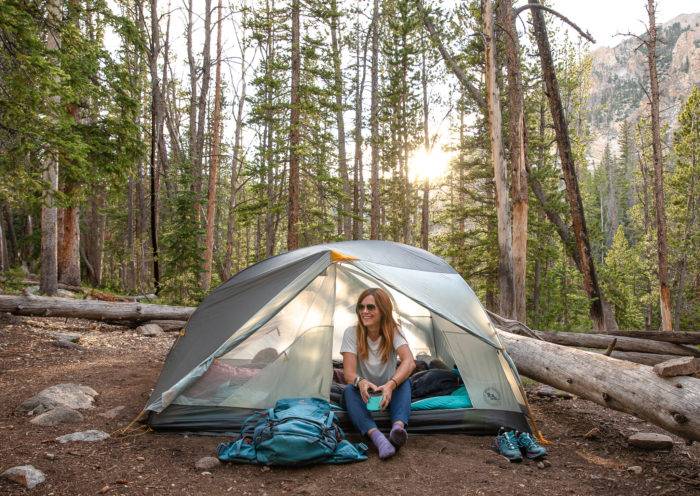
There are plenty of established campsites in the Chamberlain basin that area at least 100 feet from the water, though there are a few that are right next to the lake as well. While it’s tempting to camp just steps from the water, please be aware that it’s not compliant with U.S.F.S. regulations, and it can damage the fragile alpine ecosystem. Additionally, fires are not allowed above 8,500 feet in the Cecil D. Andrus–White Clouds Wilderness, and if you are in a spot lower than 8,500 feet, fires must be burned in a metal container.
Day 2: A Mellow Hike and a Dip in the Lake
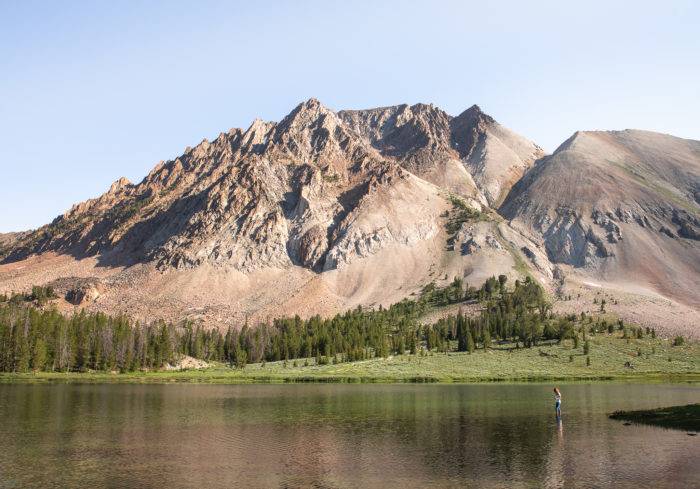
While waiting for our tent to dry, we made breakfast and admired the reflection of Castle Peak in the lake. We were pretty sore from our first day, so the goal was to make it to the end of the Boulder Chain Lakes area, where we knew there were plenty of options for campsites. Of course, a mellow day on the trail meant plenty of time for snack breaks and swimming.

The Chamberlain Basin sits at 9,200 feet, and after half a mile of flat, easy trail, we spent the next 1.5 miles making our way up to 10,000 feet — and we were subsequently rewarded with the best view of the 11,815-foot Castle Peak on the entire White Clouds Loop. The next four miles were a gradual descent to 8,100 feet, and then we went back up to 8,800 feet for our last 1.5 miles of the day. The trails were well-marked, and we saw plenty of groups with young teenagers carrying overnight packs and fishing gear, so our first 15 miles was definitely on a very family-friendly stretch of the loop.
Day 3: Stunning Scenery and Light Bushwhacking
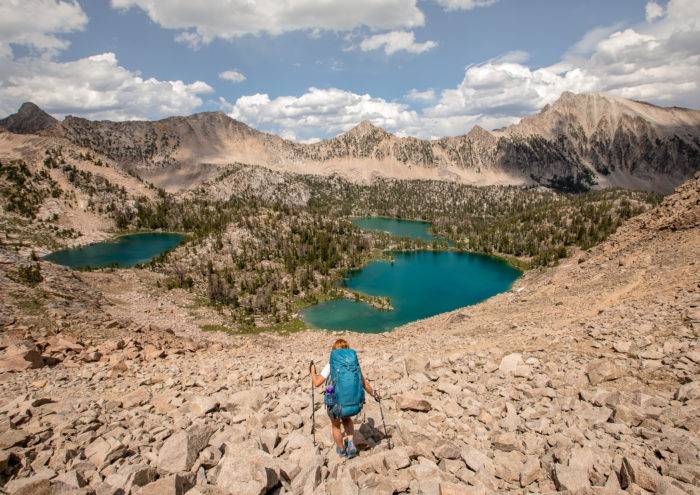
After packing up our site at Willow Lake, we hiked from 8,800 feet to 10,200 feet over the course of 3.7 miles. We passed the Boulder Chain Lakes, and once we reached the top of Windy Devil pass, we had an incredible view of Scoop Lake. After a quick snack break, we had a decision to make: where to camp that night, and how to get there.
Nearly every White Clouds Loop trail report is different, from blogs on popular outdoor magazines to the route posted on AllTrails. The trail on my map had us staying high and to the north via the Devil’s Staircase trail, and the Born Lakes weren’t too far beyond that. However, a number of people spoke highly of camping at Quiet Lake, which was just a few miles away, and mostly downhill. We had run into a few different groups who were adding Quiet Lake as a stop on the loop, and since that was consistent with the AllTrails route, we opted to do that as well. This was our first mistake, and it set us up for a difficult final day on the trail.
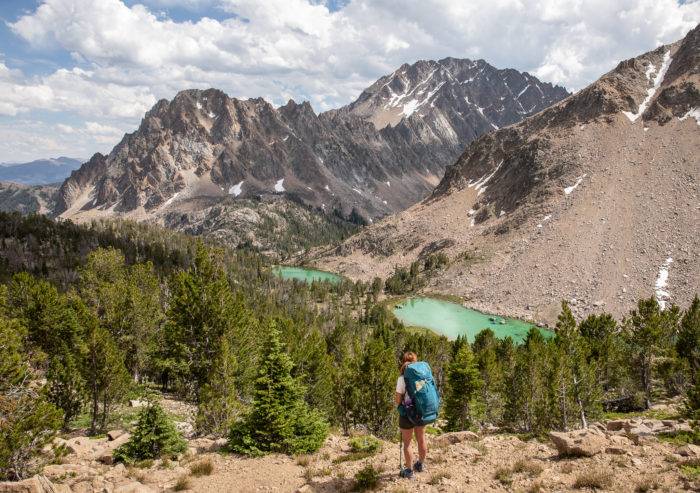
Though the terrain was not treacherous and there was a creek bed most of the way down to Quiet Lake, we were constantly checking our maps and satellite devices to make sure we were on track. Once we reached Quiet Lake, we ran into two men who had just come down the route we thought we would be taking the following day. While they spent quite a bit of time on scree and had to be careful with footing, they said it wasn’t super technical and the views were amazing. We were stoked, and already fantasizing about our celebratory post-hike pizza and beers.
Day 4: A Scramble Back
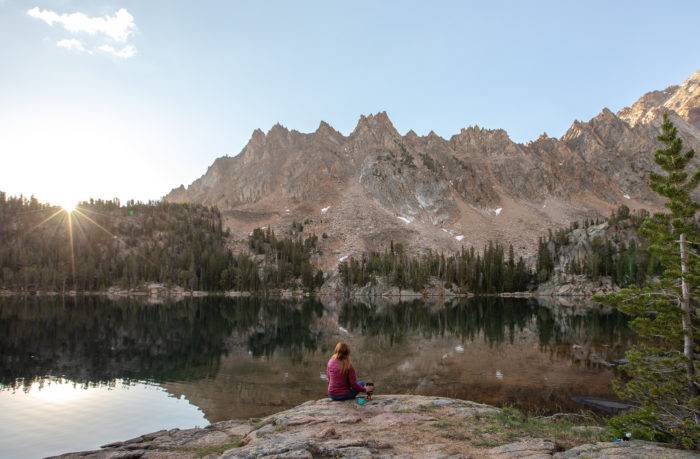
We started just above 9,200 feet when we hiked out of Quiet Lake, and 1.2 miles later, we hit 10,000 feet. The terrain was not what I would consider treacherous, but sometimes the bits and pieces of the trail we were following disappeared entirely. From there we dropped down 100 feet into the Four Lakes Basin before our final push over a 10,850-foot ridge. But then we noticed two different groups descending what appeared to be a series of switchbacks to the left of our route. The first group slowed to a stop multiple times, and several members of the second group stumbled, knocking rocks loose. The AllTrails “route” wasn’t a defined trail, but it was nestled in next to more vegetation than the sketchy switchbacks to the left. With the AllTrails route, we wouldn’t have to worry about people (or rocks) falling from above, so we opted to stick with it. This was our second mistake, and it was a big one.
After a slow ascent up a bunch of scree, we reached the saddle and quickly realized our error. Our options to get to the other side were A) ascend a few hundred more feet over a .25 mile stretch of jagged ridge called the Knife’s Edge and go down the scree field on the other side of that, B) scramble down the other side of the saddle, which had a 12+ foot drop, loose rock and no trail or C) go back down the way we came, and then go up the route we decided to skip in the first place. If the situation wasn’t complicated enough, a large thunderstorm was quickly moving towards us. We might not be able to go back down and up the switchbacks in time, so if we went with Option C, we’d likely be spending an extra night in the White Clouds. On top of that, going down the extremely steep scree field also posed some risk. After ditching our packs and accessing the drop on the other side of the saddle, we went for Option B.
Once we were down the most stressful part, each of us knocked large pieces of rock loose, and watching them tumble hundreds of feet below us was extremely unsettling. We should have had helmets, we should have started earlier and we should have either gone with Option A, or taken the Devil’s Staircase route on our third day.
Even after hiking it, there weren’t any clear answers as to what the White Clouds Loop really is — and what is the best way to do it.
Closing Thoughts and Alternate Routes
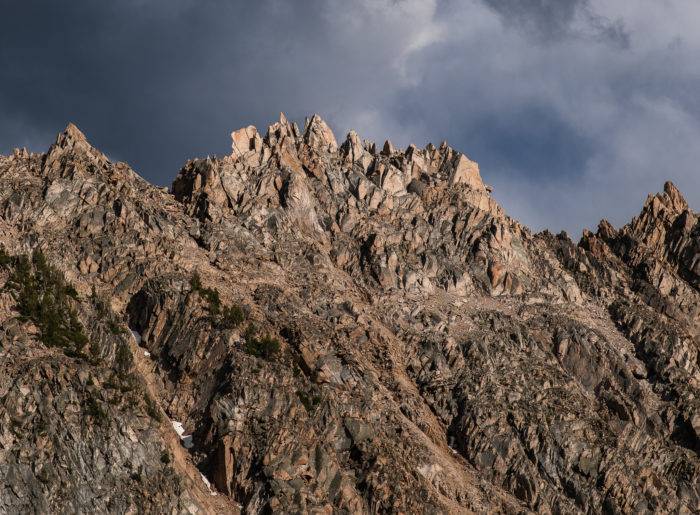
We arrived back to the trailhead safely, and after making the drive south to Ketchum, we checked in to Hotel Ketchum and enjoyed a delicious dinner (and a few very necessary glasses of Pinot Noir) at Cook Book, a darling eatery just a two-minute walk down the street.
However, when I woke up the following morning, I was still rattled about our experience, so I called Chris Lundy, co-owner of Sawtooth Mountain Guides and asked his opinion. Lundy is an experienced guide and a member of the local Search and Rescue (SAR) team, and he confirmed what I had learned: the loop isn’t for hikers unless they’re comfortable with steep, loose, exposed terrain and have expert route-finding skills. He added that more and more intermediate-level hikers have been attempting different variations of the loop lately, only to be surprised by the level of technical experience that is required — and far beyond what they possess.
After studying maps, talking with a veteran local guide and remembering how scared I was at the top of that ridge with a storm fast approaching, I’ve come to the conclusion that the best way to do the White Cloud Loop is not to do it as a loop at all.
If all of the wildly different trail reports and routes posted online are leading intermediate-level hikers to believe they can complete a loop with class four scrambling, that is a problem. The reason there isn’t a defined trail between Born Lakes and Windy Devil is because you can still access the same gorgeous alpine scenery without trying to tackle this challenging terrain (or having to call SAR).
If you want to experience this section of the Cecil D. Andrus-White Clouds Wilderness without stressing about routes and exposure, my advice is to do it as an out and back. You can either hike to the Boulder Chain Lakes or Scoop Lake for a 35 mile hike over 3+ nights, or if you’re feeling slightly more adventurous, do it as a 45-mile out and back to Quiet Lake over the course of 4-5 nights. The Chamberlain Basin is a perfect place to set up camp on the first night, and you could easily spend a week camping in all kinds of incredible spots before hiking back out the way you came. When I return to this section of the White Clouds Wilderness, that’s the way I’ll be doing it.
Elisabeth Brentano is a blogger/photographer based in California, but her wanderlust takes her all over the world to capture nature and travel content. After working in a Los Angeles newsroom for nearly a decade, she traded her high heels in for hiking boots and has been living on the road since 2016.
Feature image credited to Elisabeth Brentano.
Published on August 29, 2019
